If you're looking for an easy, no-bake treat that's fun to make and even more fun to eat, you're in the right place! Marshmallow pops are a quick and customizable dessert that are perfect for parties, birthdays, holidays, or just a sweet afternoon project with the kids. With just a few simple ingredients (marshmallows, melted chocolate, and your favorite toppings) you can create a colorful treat that looks impressive but takes just minutes to make!
What Are Marshmallow Pops?
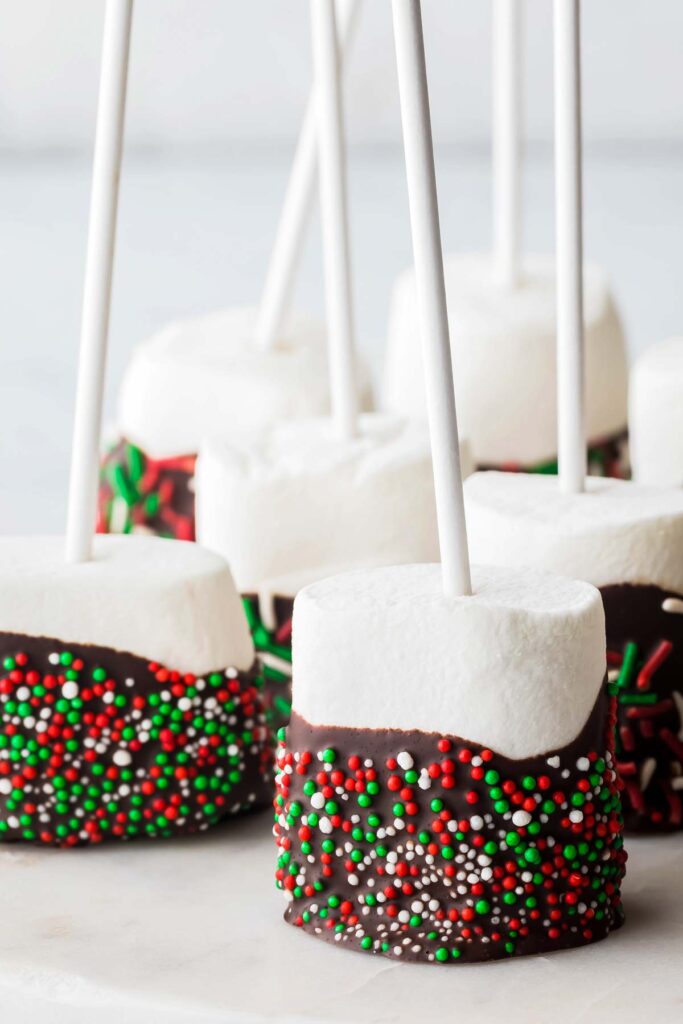
Marshmallow pops are a fun and easy treat made by placing marshmallows on sticks, dipping them in melted chocolate, and adding toppings like sprinkles, crushed cookies, or graham cracker crumbs. Think of them as a cross between cake pops and s'mores (without the baking)! They're great for parties, holidays, edible gifts, or rainy day kitchen fun with kids. You can decorate them to match any theme, making them just as festive as they are delicious.
Ingredients You'll Need
You only need a few ingredients to make these adorable and delicious marshmallow pops:
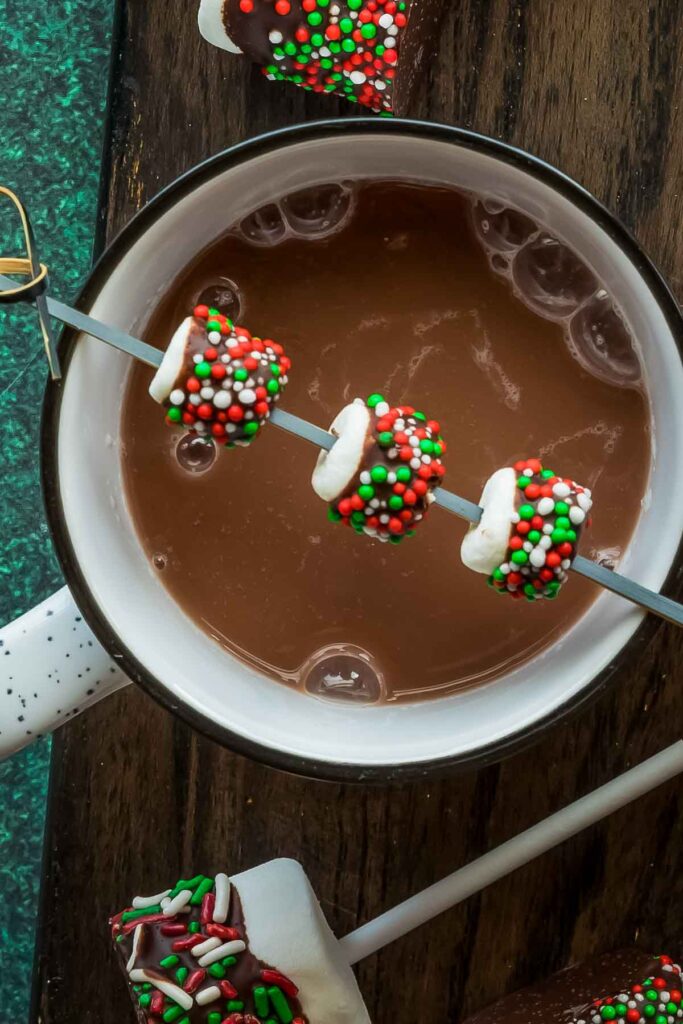
- Marshmallows: Regular-sized marshmallows work best, but feel free to use jumbo or flavored marshmallows for a twist. Mini-marshmallows can also be used and skewered on little food piks and set on or next to mugs of hot chocolate.
- Chocolate for melting: Milk chocolate chips are classic, but you can also use white chocolate chips or dark chocolate. Colored candy melts in different colors are also a great choice.
- Toppings: Customize with whatever you like! Some fun options include rainbow sprinkles or nonpareils, crushed graham crackers (for a s'mores version), crushed cookies (like Oreos or Biscoff), mini M&Ms or chocolate chips, or crushed peppermint candies.
- Lollipop sticks or paper straws: These make the pops easy to hold and serve. You can find them at most craft stores or online.
- Optional but helpful: Adding a teaspoon of coconut oil or shortening to your chocolate helps it melt smoother and coat the marshmallows more evenly.
Step-by-Step Instructions
Making marshmallow pops is simple, fun, and totally kid-friendly! Here's how to do it:
- Prep your toppings: Pour your chosen toppings (sprinkles, crushed graham crackers, cookie crumbs, etc.) into small bowls for easy dipping.
- Melt the chocolate: Add the chocolate or candy melts to a microwave-safe bowl. Microwave in 20-30 second intervals, stirring in between, until melted and smooth. (You can add a teaspoon of coconut oil to help the chocolate thin out and coat better.)
- Insert the sticks: Push a lollipop stick or paper straw about halfway into each marshmallow, being careful not to push all the way through.
- Dip in the chocolate: Hold each marshmallow by the stick and dip the top and sides into the melted chocolate. Let any excess chocolate drip off.
- Add the toppings: Immediately dip or roll the chocolate-coated marshmallow into your toppings, or sprinkle them on by hand.
- Let them set: Stand the marshmallow pops upright (use a foam block, mug filled with sugar, or poke holes in a box) and allow the chocolate to set completely at room temperature or in the refrigerator.
Flavor and Topping Variations
One of the best parts about marshmallow pops is how easy they are to customize. Here are some fun ideas to try:
Chocolate Flavors
- Milk chocolate: This is classic and loved by all ages.
- Dark chocolate: Rich and slightly less sweet, dark chocolate is usually better enjoyed by adults.
- White chocolate: Sweet and perfect for colorful decorating.
- Candy melts: Use red, green, pink, or blue melts to match any holiday or birthday theme.
Toppings
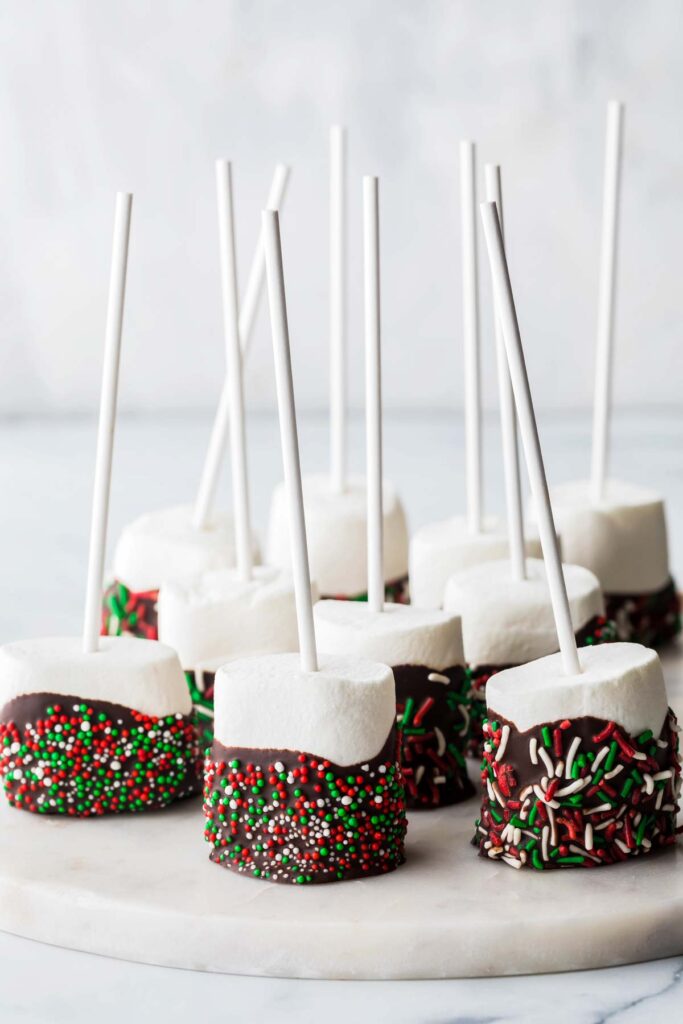
- Sprinkles: Use rainbow, holiday, or color-themed sprinkles.
- Crushed graham crackers: For a s'mores-style marshmallow pop.
- Mini M&Ms: These make really colorful marshmallow pops!
- Crushed cookies: Oreos, Biscoff, or chocolate chip cookies.
- Shredded coconut: Sweetened or unsweetened for a tropical twist.
- Chopped nuts: Like peanuts, almonds, or pecans (great for adults).
- Crushed peppermint: Perfect for Christmas marshmallow pops.
- Cereal pieces: Fruity Pebbles, Cocoa Krispies, or Cheerios.
Extra Fun Twists
- Add a drizzle: Once the chocolate sets, add a drizzle of chocolate in a contrasting color (white over dark, or vice versa).
- Flavored marshmallows: Try strawberry, chocolate, or holiday-flavored versions like peppermint.
- Double dip: Dip once in chocolate, let set, then partially dip a second time in chocolate or a topping in a contrasting color.
Holiday Marshmallow Pops
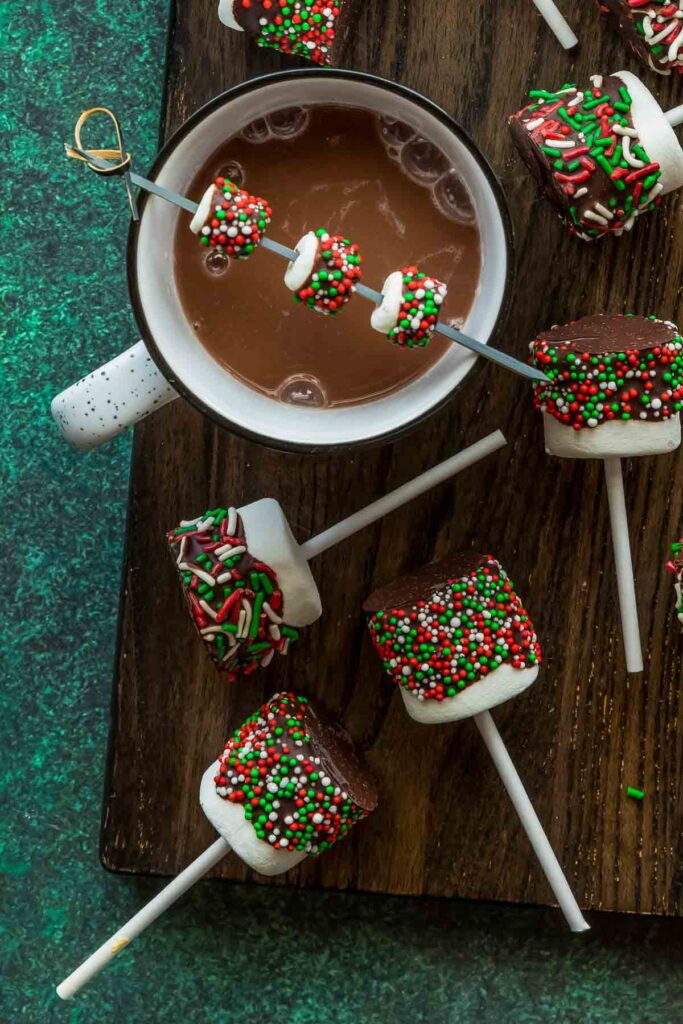
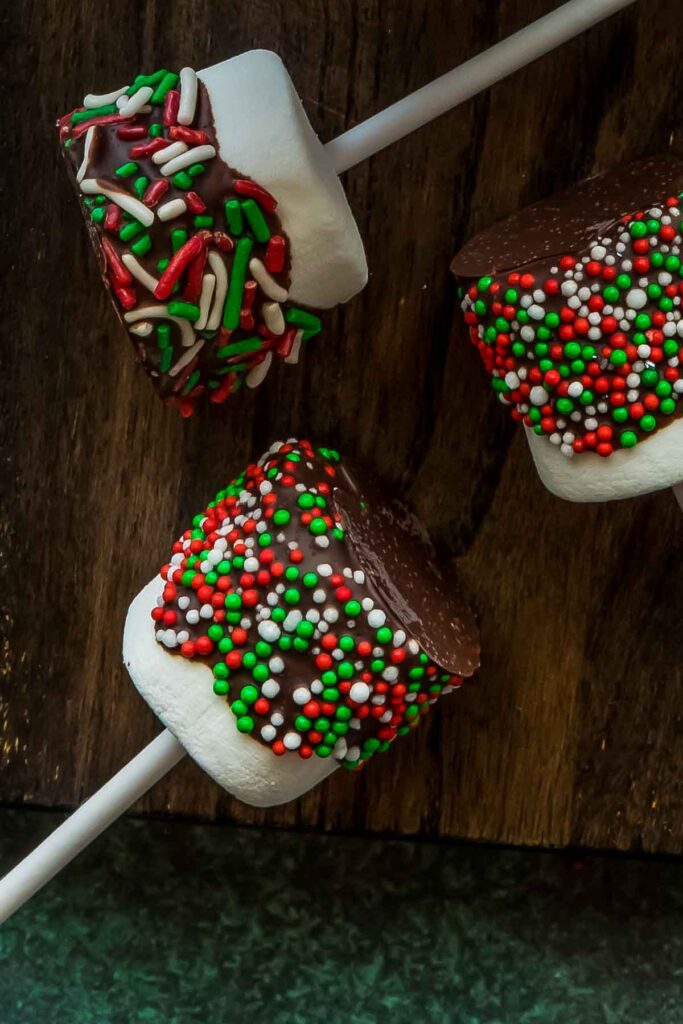
- Christmas: Use red and green candy melts or sprinkles, crushed peppermint, or drizzle with white chocolate and top with mini holiday M&Ms.
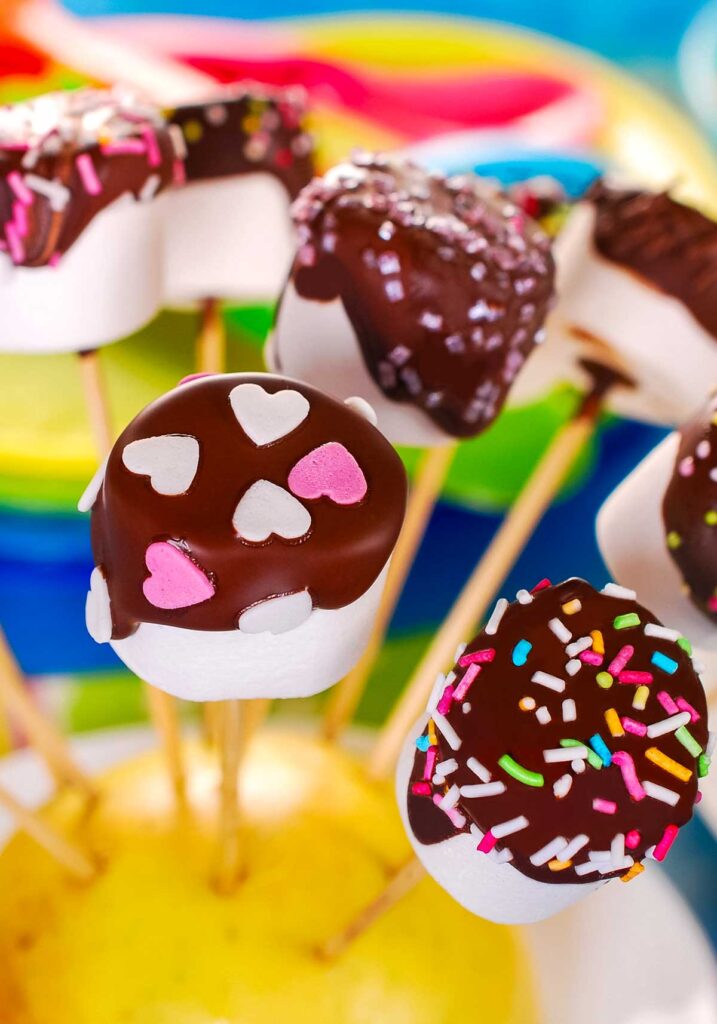
- Valentine's Day: Dip in pink or white chocolate and top with heart sprinkles, pink sanding sugar, or edible glitter.
- Summer parties/4th of July: Use red, white, and blue candy melts or sprinkles. Try layering colored candy melts for a tie-dye effect.
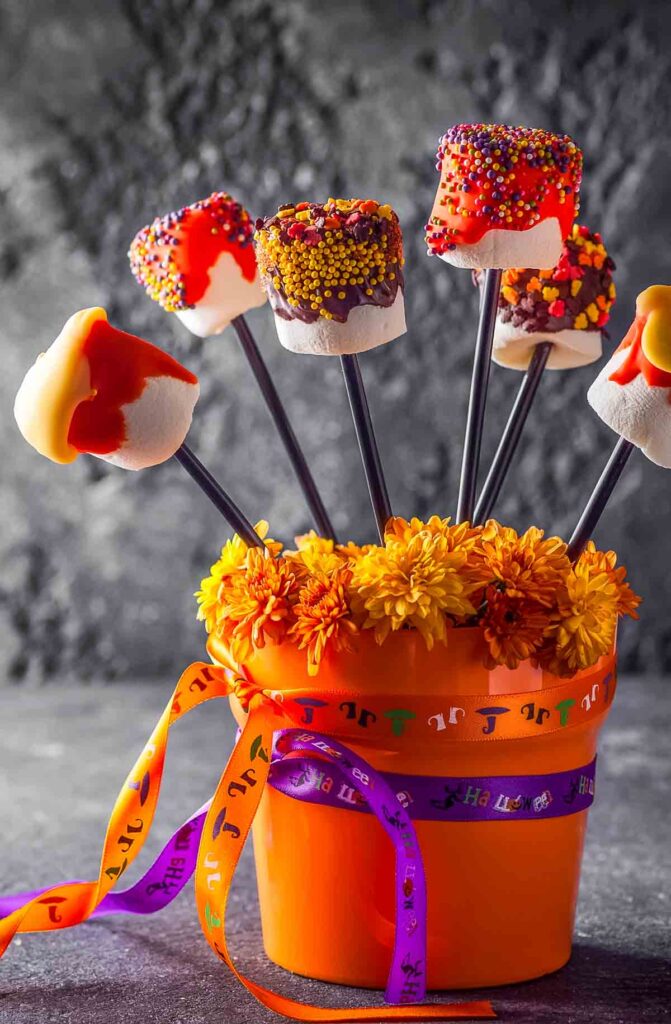
- Halloween: Dip in orange or dark chocolate and decorate with candy eyes, Halloween sprinkles, or crushed chocolate cookies.
- Thanksgiving: Roll in crushed graham crackers or pecans and drizzle with caramel or white chocolate.
- Birthdays: Go wild with rainbow sprinkles, funfetti candy melts, or even edible confetti.
- Super Bowl: Use your team colors! (Obviously, green and yellow is the only choice here, haha 🙂
Storage and Make-Ahead Tips
Make-Ahead Tips
Prep them early: You can make marshmallow pops up to 3-4 days in advance of your event. This gives you plenty of time to decorate and package them without last-minute stress.
Make sure they're set before packaging: Be sure the chocolate is completely set before packaging or stacking to avoid smudging or sticking.
How to Store
Room temperature: Store finished marshmallow pops in an airtight container at room temperature. They'll stay fresh for up to 5 days.
Avoid the fridge: Refrigeration can cause condensation and make the chocolate coating sticky or discolored.
Use parchment or wax paper: If stacking, place a sheet of parchment or wax paper between layers to prevent sticking.
Individually wrap them: For gifting or parties, wrap each pop in a clear treat bag and tie with ribbon or twine. It keeps them fresh and makes for a cute presentation.
Can You Freeze Marshmallow Pops?
Freezing is not recommended, as marshmallows tend to lose their soft, chewy texture and can become grainy when thawed. Stick to making them fresh within a few days of when you plan to serve them.
Frequently Asked Questions
- How far in advance can you make marshmallow pops?
You can make marshmallow pops up to 3-4 days ahead of time. Just be sure to store them in an airtight container at room temperature, away from heat or humidity. - Do marshmallow pops need to be refrigerated?
No, marshmallow pops should not be refrigerated. The cold can cause the chocolate to sweat and become sticky when brought back to room temperature. Store them in a cool, dry place instead. - How long do marshmallow pops last?
When stored properly at room temperature, marshmallow pops will stay fresh for about 5 days. For best results, enjoy them within the first 2-3 days. - Can you freeze marshmallow pops?
Freezing is not recommended. Marshmallows can become chewy or tough after being frozen and thawed, and the chocolate may develop condensation or cracks. - What kind of chocolate should I use?
You can use milk, dark, white chocolate, or colored candy melts. Just be sure to melt it gently so it coats the marshmallows smoothly. - What can I use instead of lollipop sticks?
If you don't have lollipop sticks, try using paper straws, wooden skewers, popsicle sticks, or even decorative toothpicks for mini versions. - Can kids help make these?
Marshmallow pops are a perfect no-bake treat for kids to help make. Just supervise the chocolate dipping and let them go wild with sprinkles and toppings. - Do I have to use large marshmallows?
Large marshmallows are ideal, but you can also use jumbo marshmallows for a bigger treat or mini marshmallows on toothpicks for bite-sized versions.
If you love fun, no-bake treats like marshmallow pops, you'll definitely want to try a few more easy favorites! My 3-ingredient fudge dessert is rich, creamy, and done in just minutes. For something a little fancy but still foolproof, DIY chocolate bowls (made using balloons!) and festive dipped pretzel rods are perfect for parties or gifting. For something especially simple, these M&M Pretzel Hugs come together in no time and look adorable on any cookie tray. And don't miss easy chocolate spoons for edible gifts - they're not only delicious but also make the cutest gifts or hot cocoa toppers!
How to Make Marshmallow Pops
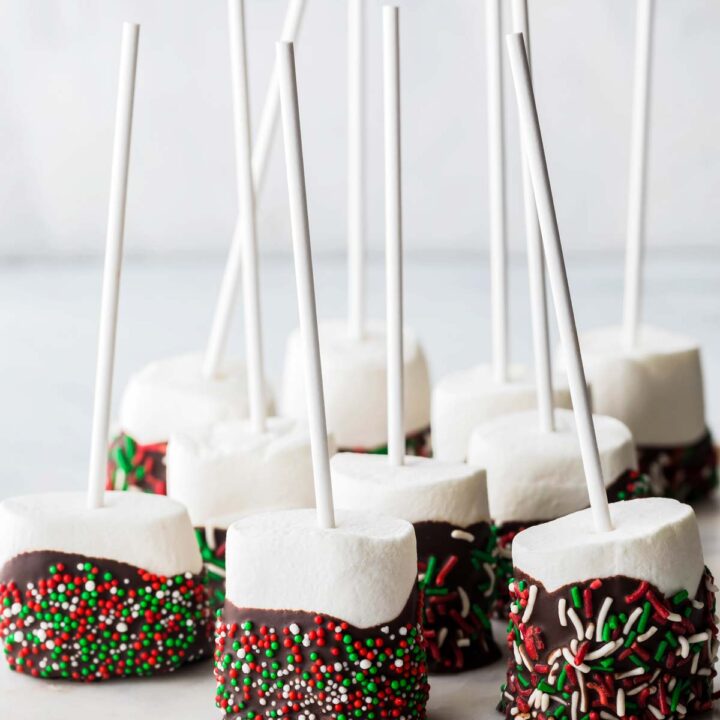
These easy marshmallow pops are perfect for any occasion, and a great choice to enlist the help of your littles!
Ingredients
- 24 regular-sized marshmallows (you can use any size you like, but the yield will change depending on size)
- 12 oz high-quality chocolate or candy melts
Optional Toppings
- Rainbow sprinkles or nonpareils
- Crushed graham crackers (for a s’mores version)
- Crushed cookies (like Oreos or Biscoff)
- Mini M&Ms or chocolate chips
- Crushed peppermint candies
Instructions
- Prep your toppings: Pour your chosen toppings (sprinkles, crushed graham crackers, cookie crumbs, etc.) into small bowls for easy dipping.
- Melt the chocolate: Add the chocolate or candy melts to a microwave-safe bowl. Microwave in 20–30 second intervals, stirring in between, until melted and smooth. (You can add a teaspoon of coconut oil to help the chocolate thin out and coat better.)
- Insert the sticks: Push a lollipop stick or paper straw about halfway into each marshmallow, being careful not to push all the way through.
- Dip in the chocolate: Hold each marshmallow by the stick and dip the top and sides into the melted chocolate. Let any excess chocolate drip off.
- Add the toppings: Immediately dip or roll the chocolate-coated marshmallow into your toppings, or sprinkle them on by hand.
- Let them set: Stand the marshmallow pops upright (use a foam block, mug filled with sugar, or poke holes in a box) and allow the chocolate to set completely at room temperature or in the refrigerator (about 30 minutes).
Notes
See the post for loads of ideas for toppings, holidays, etc!
Nutrition Information:
Yield: 24 Serving Size: 1Amount Per Serving: Calories: 100Total Fat: 4gSaturated Fat: 3gTrans Fat: 0gUnsaturated Fat: 1gCholesterol: 3mgSodium: 17mgCarbohydrates: 15gFiber: 0gSugar: 12gProtein: 1g
This data was provided and calculated by Nutritionix. This was calculated using ONLY the marshmallows and chocolate - it does not include toppings.
- Cucumber and Pineapple Salad with Hot Honey - July 23, 2025
- The Best Smoked Baked Beans with Bacon & Chipotle - July 9, 2025
- Smoked Pork Butt Recipe (Tender, Juicy & Full of Flavor!) - June 18, 2025
Sharon says
Hi Kristy..."waving" remember me from way back last summer! I'm happy to be back to the world of food blogging. And glad to see "you" are still here! Wow...look at all those goodies! So neat that you are an active part of meeting with food bloggers! Maybe one day...when I finally make it up to DC to visit my dad and family, I'll be able to get together with some food bloggers in the area (including you).
Lynell Johnson says
Love this idea! Making it for Youth Valentine Bake Sale. I'm dipping in red candy crystals
Lynell Johnson says
Corrections!! After dipping in chocolate, I'm rolling in red candy crystals!
the wicked noodle says
OOOOOOHHH...I'll be they'll be really pretty, Lynell!
Bev says
They are great, but even better if you roast the marshmallows over a flame and let cool before dipping them in chocolate!!!
the wicked noodle says
What a great idea, Bev!
Kristy says
Awww...miss you, Caroline!
ThatsSoYummy says
These look soooooo Yummy..... I will make these in the next week...... OOOOOOOOO I can't wait my children will love them!
Thanks for sharing 🙂
kids wall art says
These are so cute...my girls will love making them. Thanks!
suzen says
My mom made those - they are decadent! I also liked your strawberry limeade. I've had to catch up with you - just signed up for the email delivery finally because I rarely checked my Yahoo thing - sorry I've been out of the loop with you! I'm back to be tempted by your yummies!
Jennie says
Those are wonderful! In fact, if I hadn't already committed to bringing Cake Pops to my son's preschool graduation tomorrow, I'd be taking those! Waaay less work and I'm sure they'd be just as big a hit with a herd of 4 year olds! Fantastic!
Paula - bell'al says
Hi Kristy! What a great idea. I'll def have to do these with the kids over summer break 🙂
jenn says
Fun treats. Great for parties or for myself. =)
Mara @ What's f says
Those look like such a fun project!! I'll have to try them with my best friend's daughter 🙂