Chocolate covered pretzel rods are one of the easiest and most fun treats you can make at home! Crunchy, salty pretzels get dipped in rich chocolate and/or colorful candy melts, then decorated with sprinkles for a festive finish.
They're perfect for holiday cookie trays, birthday parties, or a simple edible craft with kids. This no-bake treat takes just minutes to make, and you can customize the colors and toppings for any holiday.

For years, my girls and I made these chocolate covered pretzel rods for our annual Christmas cookie tray, along with easy chocolate truffles. We'd also gift these to friends and teachers with smaller versions of christmas cake made with cranberries.
Jump to:
Ingredients
- 2 bags pretzel rods: sturdy, salted pretzels work best for dipping.
- 1-2 bars milk or dark chocolate: use good-quality chocolate.
- 1 bag brown candy melts: for dipping as the main coating. (Check out this comparison to see which brand is best, although we typically pick ours up at Michaels).
- 2 bags white candy melts: for both dipping and drizzling after (white makes a great contrast color).
- 1 bag red candy melts: perfect for holidays like Christmas or Valentine's Day.
- 1 bag green candy melts: adds color for Christmas or St. Patrick's Day (pair it with yellow for the Packers at a football-themed party).
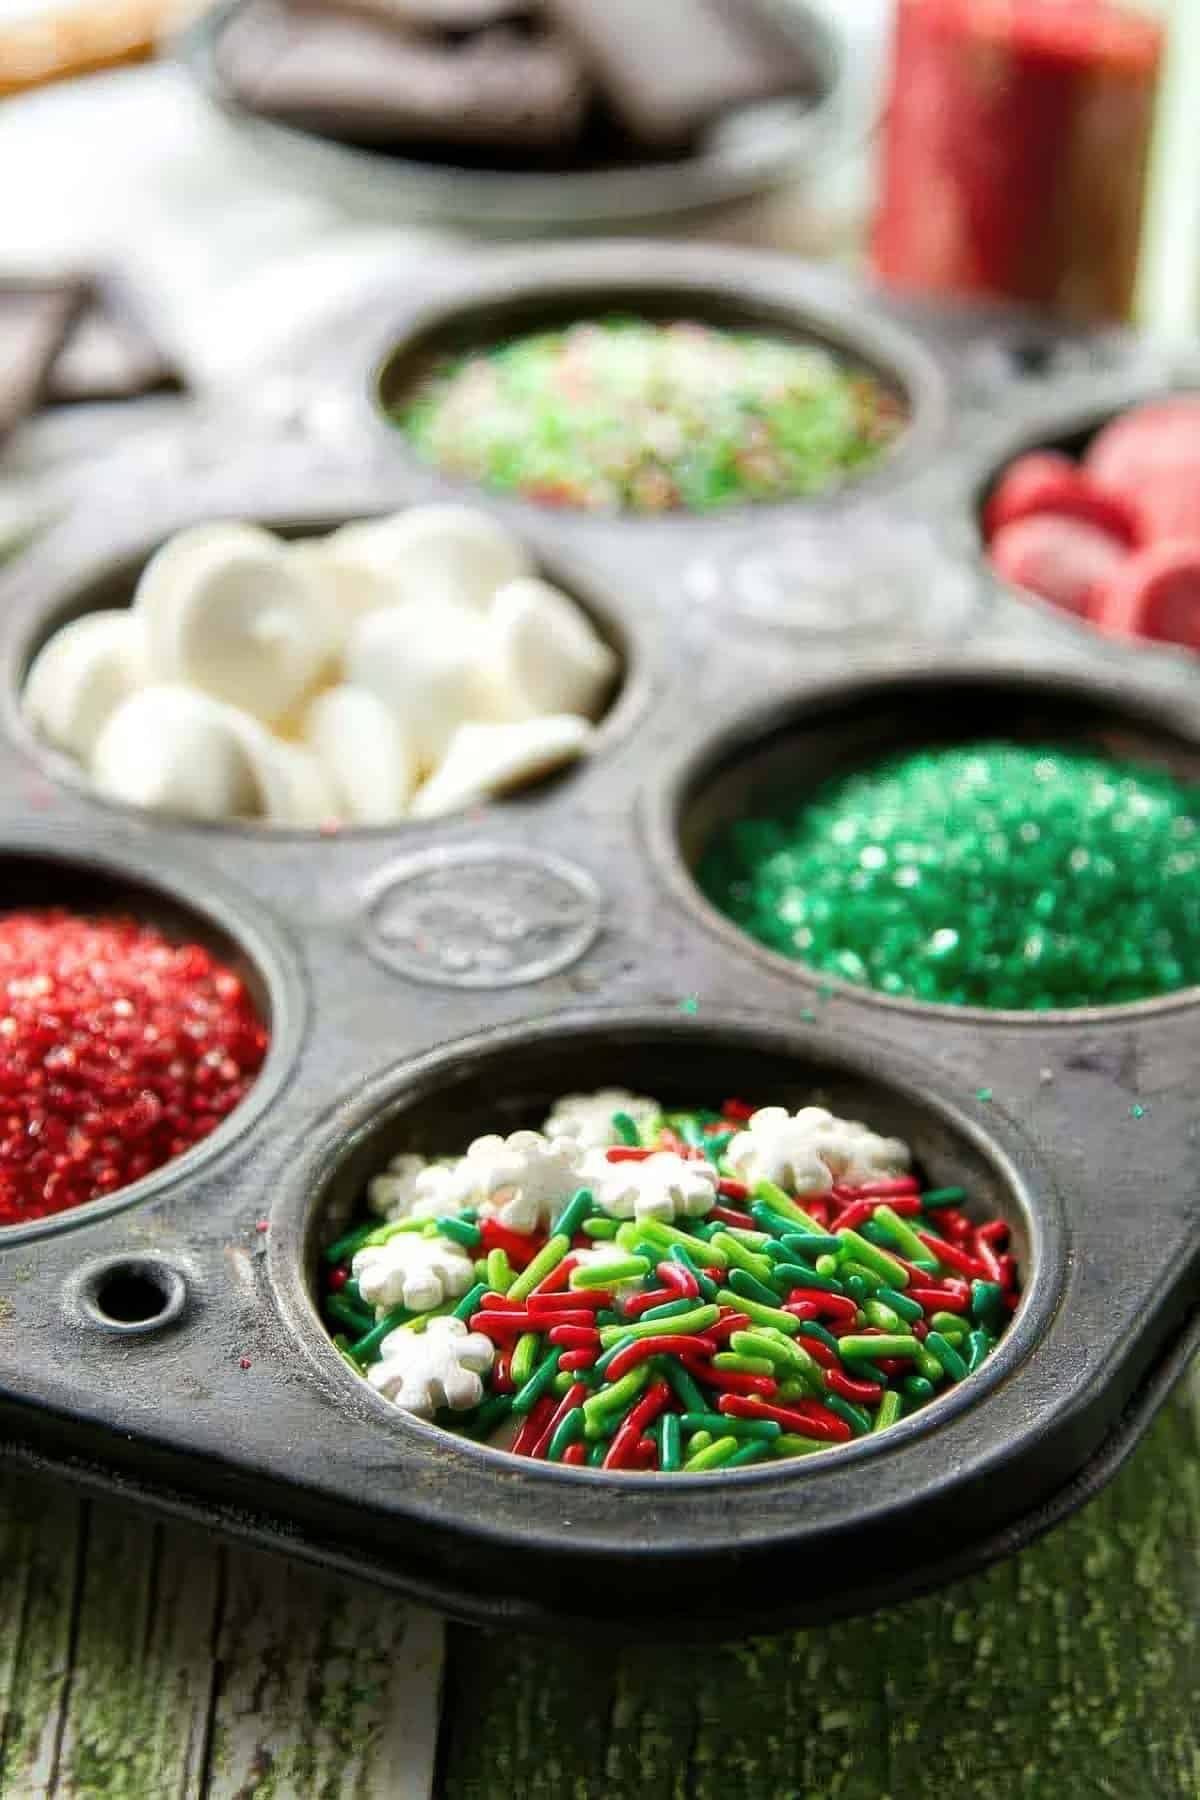
- Assorted sprinkles: seasonal or themed (holiday colors, rainbow, metallics, etc.) for decoration.
TIP: use other colors of candy melts or toppings like crushed candy canes, mini M&Ms, or chopped nuts to customize for different occasions.
How to Make Chocolate Covered Pretzel Rods
- Prep your workspace: Line a large baking sheet with parchment or wax paper. Set up smaller sheets of parchment as workstations if making these with kids or a group.
- Melt the chocolate: Place the chocolate bars and brown (or white, depending on what color you're using) candy melts in a microwave-safe mug or bowl. Heat in 30-second intervals, stirring between each, until they're smooth and fully melted.
- Dip the pretzel rods: Hold each pretzel rod and dip about ⅔ of the way into the melted chocolate. Let the excess chocolate drip back into the bowl. Lay the coated pretzels on the prepared baking sheet and allow them time to set.
- Melt the contrasting colored candy melts: Place red, green, and white candy melts into microwave-safe bags or bowls. Melt according to the package directions, reheating as needed if they start to firm up.
- Decorate: Drizzle the melted candy melts over the chocolate-covered pretzels. Quickly add the sprinkles and/or toppings while the chocolate is still wet so they stick. Let each layer set before adding the next drizzle to make sure you get nice clean lines.
- Set and serve: Allow the pretzel rods to harden completely at room temperature.
- Store in an airtight container until you're ready to serve them (or package them as gifts).
Equipment Needed
- Microwave-safe bowls, mugs, or tall glasses: for melting chocolate and candy melts. Using something tall and narrow makes dipping the pretzel rods easier.
- Microwave-safe piping bags or zip-top bags: for drizzling the melted candy melts in clean lines. We like these from Wilton as they're microwave safe so you can melt directly in the bag.
- Parchment or wax paper: to line trays and prevent sticking while the pretzels set.
- Baking sheet or tray: to hold the chocolate dipped pretzel rods as they dry.
- Spoon or spatula: for stirring the melted chocolate.
- Foam block, cereal box, or drying rack (optional): to stand the pretzel rods upright as they set, preventing flat sides.
- Sprinkle bowls: separate small bowls to catch excess sprinkles and make decorating less messy.
- Cellophane treat bags and ribbon (optional): if you're packaging the chocolate covered pretzel rods as gifts.
Tips
Chocolate & Candy Melts
- Pick the right coating: Real chocolate tastes the richest but must be tempered (see below). Candy melts are the easiest (no tempering) and are great for drizzles and bright colors.
- Tempering basics (if using real chocolate): Finely chop the chocolate. Microwave 20-30 seconds at a time, stirring often, until it's 75- 80% melted. Stir it off-heat to finish melting. Aim for 122°F/50°C (dark) or 105°F/40°C (milk/white) before dipping. If it thickens as you work, warm it for just a few seconds and stir it again.
- Melting candy melts cleanly: Heat them low and slow as they scorch easily. Don't be tempted to speed the process!
- Keep water away: Even a drop can seize chocolate. Dry bowls, dry utensils, dry hands.
Setup & Workflow
- Create a dipping station: Line a sheet pan with parchment/wax paper. Have separate bowls/bags for each color and a tray for sprinkles.
- Use a tall, narrow vessel: A heat-safe mug or a narrow glass makes it easier to dip ⅔ of the rod in one go and get a clean line.
- Work in small batches: Melt only what you'll use in 10-15 minutes. Rewarm the chocolate or candy melts briefly as needed.
Dipping for Clean, Even Coats
- Prep your pretzels: Use fresh, unbroken rods. If there's excess salt on the tips, brush it off so the chocolate adheres better.
- Angle and spin: Dip, then lift while gently rotating to let excess drip off. Lightly tap your wrist (not the rod) so the coating levels out without knocking off too much chocolate.
- Avoid flat sides: Stand dipped rods upright in a foam block or a cereal box with small holes so they set evenly. If you're laying them flat, flip them once halfway through setting to help keep them rounded.
Decorating Like a Pro
- Timing is everything: Add the sprinkles immediately after coating or after each drizzle before the surface sets.
- Neat sprinkle technique: Hold the pretzel over a dedicated sprinkle bowl and let the extras fall back in. Don't roll the rod in sprinkles (it smears the lines).
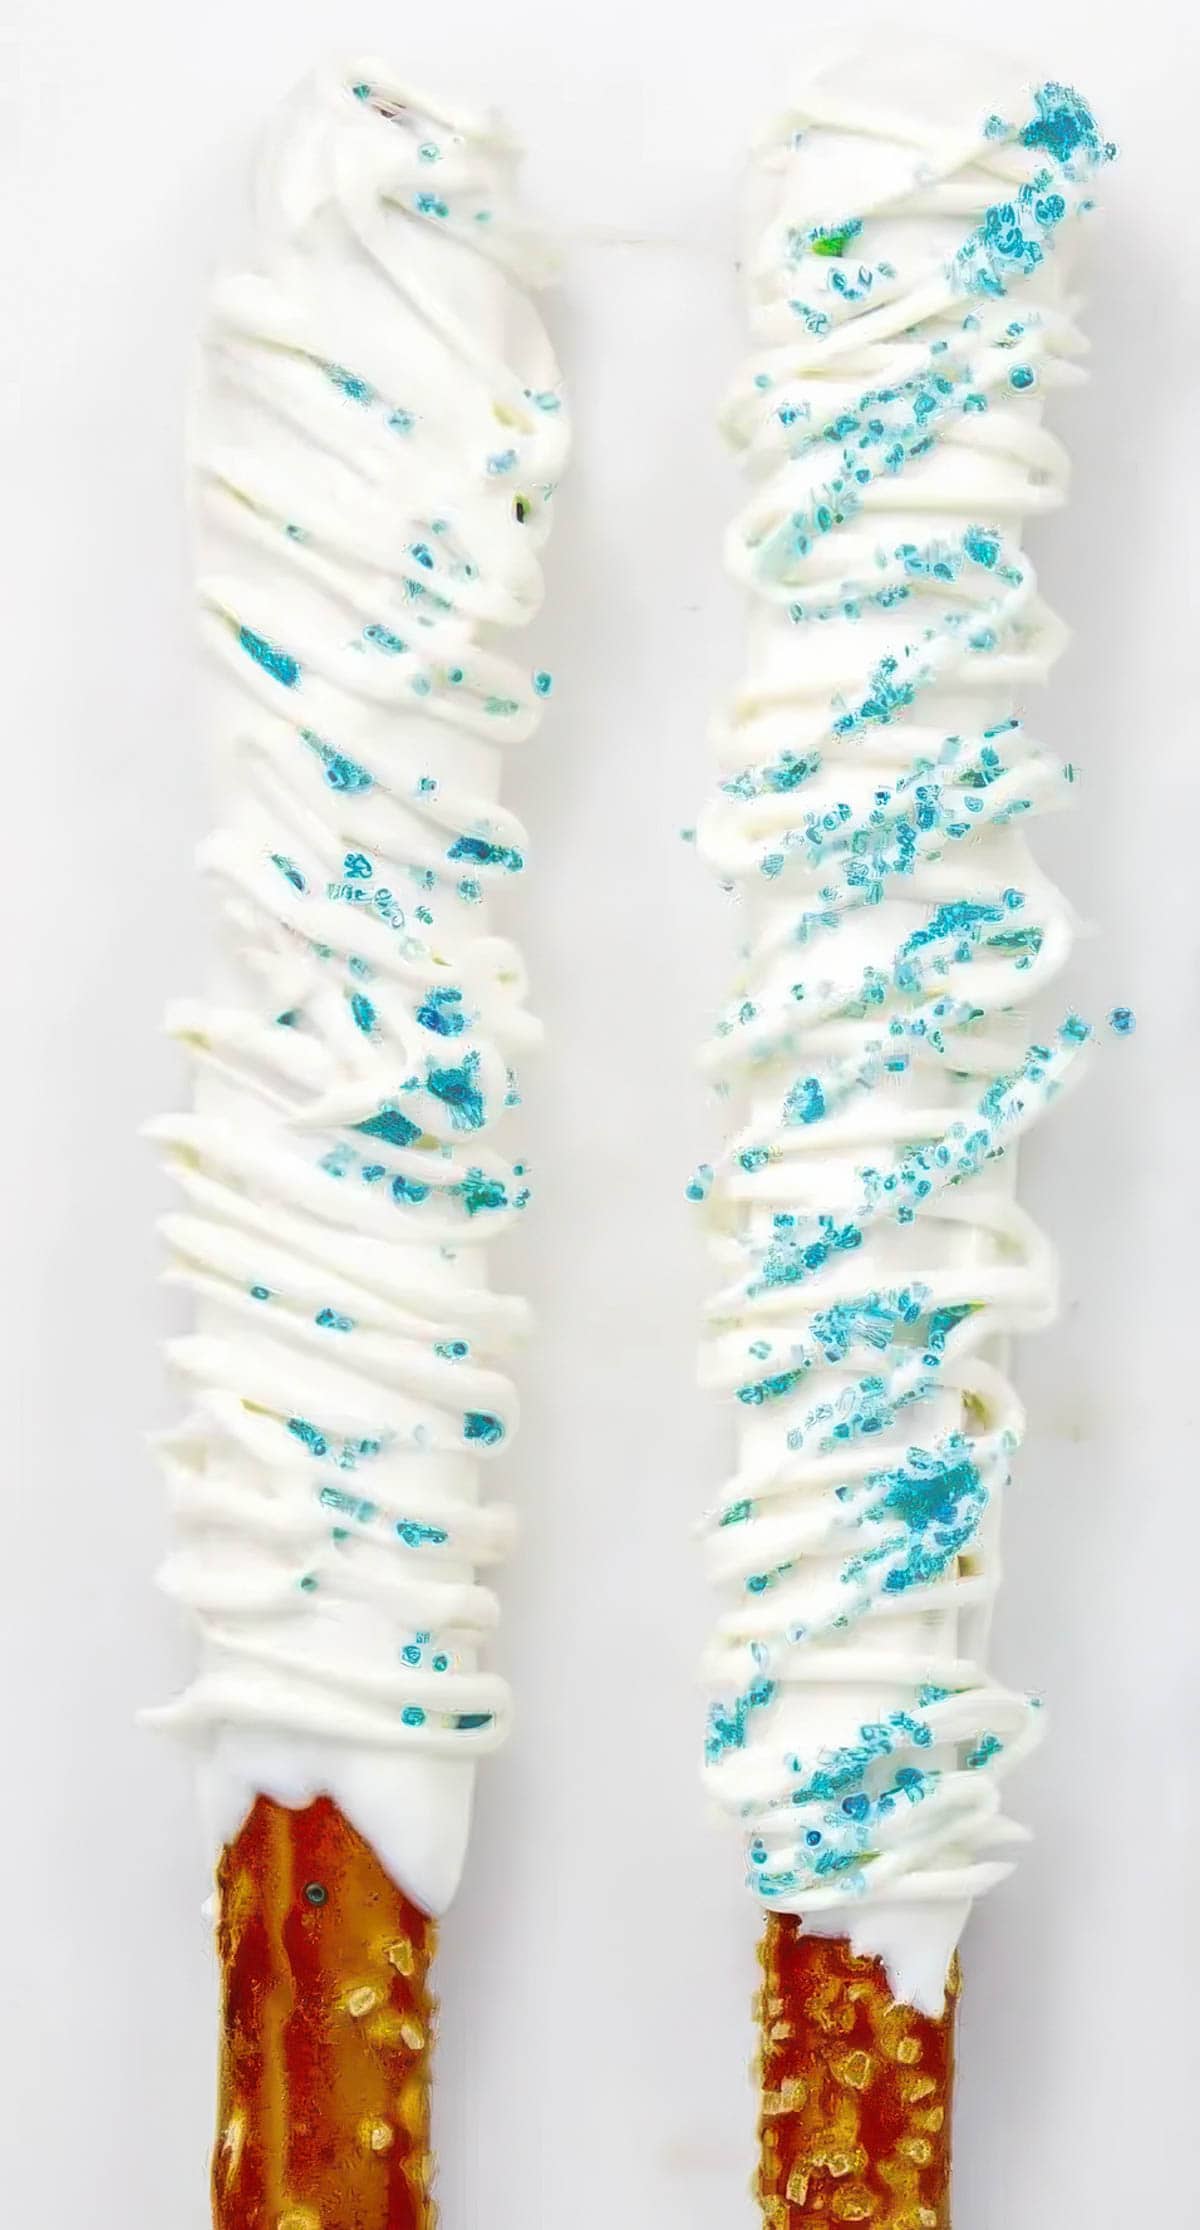
- Clean drizzles: Use microwave-safe piping bags or zip bags with a tiny snip. For fine stripes, keep the tip 6-8 inches above and move quickly.
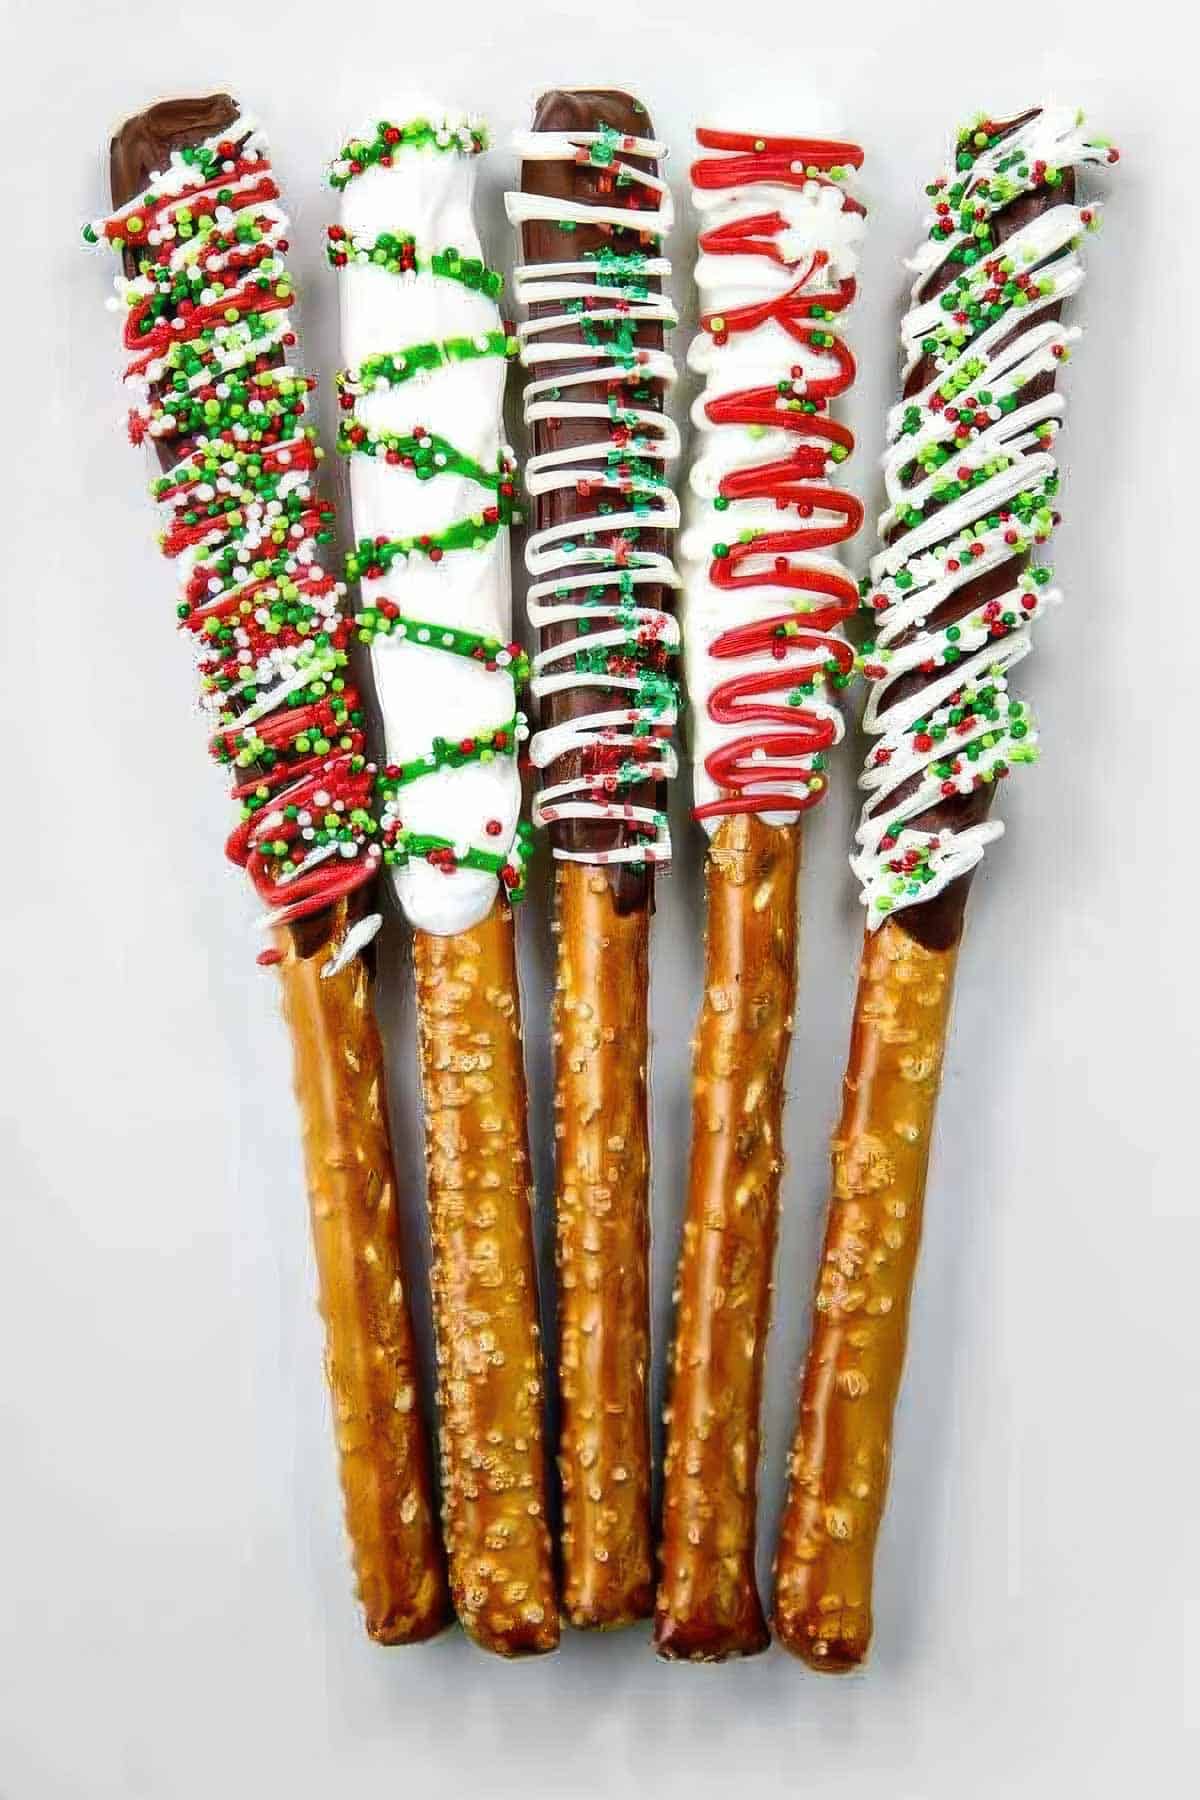
- Color contrast: Go for a dark base + white/red/green drizzle (or vice versa).
Setting & Storage
- Set them at cool room temp: A cool, dry spot gives the best shine as they dry. If you must speed things up, chill for 5-7 minutes only (long chilling can cause condensation).
- Handle marks: Once the chocolate covered pretzel rods are set, be sure to avoid touching the chocolate (pick them up by the pretzel part) or wear food-safe gloves when moving them so you don't get fingerprints.
- Storage: Airtight containers at room temp (65-70°F), away from sunlight and humidity, for up to 1 week. For gifting, use treat bags and tie them only after the coating is fully set.
- Freezing: You can freeze them in airtight layers separated by parchment. Thaw them in the container to prevent moisture from forming on the chocolate.
Troubleshooting
- Streaky or dull finish: Chocolate was too hot, overworked, or exposed to moisture. Gently re-melt the chocolate and let it cool to the target temp before dipping.
- Thick, gloopy coating: Overheated candy melts or too cool a workspace.
- Sprinkles sliding off: The surface started to set. Work faster or do smaller batches.
- Cracking: The coating is too thick or the rods were chilled too long before drizzling.
Yield & Planning
- How much to melt: Roughly 8-10 rods per 6 oz (170 g) of base chocolate, depending on the height of each dip and the amount of drizzle on each rod.
- Color management: Keep one "base" bowl and two to three small drizzle bags ready so you can alternate colors while the others set.
Storage & Gifting
Storage Tips
- Room temperature is best: Keep the finished chocolate covered pretzel rods in an airtight container at cool room temp (65-70°F). They'll stay fresh for up to 1 week.
- Layer them carefully: If stacking, place parchment or wax paper between the layers to prevent them from sticking or smudging.
- Avoid humidity: Moisture can cause the chocolate to bloom (white streaks/spots) and make the pretzels lose their crunch.
- Freezing option: Freeze the completed chocolate covered pretzel rods in a single layer on a sheet pan, then transfer them to freezer bags or containers. They'll keep for up to 2 months. Thaw in the container at room temp before unsealing to prevent condensation on the chocolate.
Gifting Ideas
- Cellophane treat bags: Place 2-4 pretzel rods per bag and tie the bags with ribbon or baker's twine.
- Themed packaging: Use colored ribbons and sprinkles to match holidays: red & green for Christmas, pink for Valentine's Day, orange & black for Halloween, or rainbow for birthdays. You can also use the colors from your favorite football team!
- Boxes or tins: Line small bakery boxes or holiday tins with parchment, then arrange the pretzel rods neatly inside.
- Custom labels: Add a handwritten tag or printable label with a fun message like "Salty, Sweet & Made Just for You!".
- Mix & match gifts: Pair the chocolate covered pretzel rods with hot cocoa packets, cookies, or other homemade candies in a basket or tin.
TIP: Always let pretzel rods harden fully before packaging. If they're even slightly soft, they'll stick to wrapping and ruin the decorations.
Looking for more ideas to use these as gifts? Ask AI here:
Frequently Asked Questions
What kind of chocolate is best for chocolate covered pretzel rods?
Good-quality chocolate bars have the best flavor. Candy melts are easier to work with and come in many different colors, but they don't taste quite as decadent. Many people use a mix: real chocolate for dipping, candy melts for colorful drizzles.
Can I use white chocolate?
White chocolate or white candy melts both work well. If you're using real white chocolate, melt it gently and stir it more often (it scorches faster than dark or milk chocolate).
How far in advance can I make chocolate covered pretzel rods?
They can be made up to 1 week ahead if stored properly in an airtight container at room temperature. For gifting, make them no more than 2-3 days before packaging (to make sure the recipient has a few days of freshness before they have to be enjoyed).
Do I need to refrigerate chocolate covered pretzel rods?
Refrigeration can cause condensation, which may ruin the decorations and soften the pretzels. Store them at a cool room temperature instead.
Can I make these gluten-free?
Just use gluten-free pretzel rods (many brands offer them) and make sure that the chocolate or candy melts you're using are certified gluten-free.
How do I keep the chocolate from looking streaky or dull?
This happens if the chocolate isn't tempered or if it's overheated. For candy melts, make sure not to scorch them by heating them in short bursts and stirring between. For real chocolate, tempering helps give a shiny, professional finish (see our tips above).
Can I decorate chocolate covered pretzel rods for any holiday?
Use colored candy melts, sprinkles, or edible glitter to match the season: red and green for Christmas, pastels for Easter, orange and black for Halloween, or rainbow for birthdays. Use your team's colors for football parties (we're green and yellow)!
Can I freeze chocolate covered pretzel rods?
Freeze them in airtight containers with parchment between layers for up to 2 months. Thaw them inside the container at room temperature before unsealing to prevent condensation from forming on the chocolate.
Related
Looking for more no-bake desserts like this one? Try these:
Pairings
These are the treats and desserts we like to serve or gift with chocolate covered pretzel rods:

Chocolate Covered Pretzel Rods
Chocolate Covered Pretzel Rods are so fun and simple to make. They're the easiest "Christmas cookie" out there and everyone loves them!
Ingredients
- 2 bags pretzel rods
- 1-2 bars milk or dark chocolate
- 1 bag brown candy melts, I use both "regular" chocolate and melts but you could use all of one or the other
- 2 bags white candy melts
- 1 bag red candy melts
- 1 bag green candy melts
- Assorted Sprinkles, these are exactly what I use
Instructions
- Spread out some waxed paper large enough to hold all of your finished pretzels. Place a smaller "work station" sheet of waxed paper for every person decorating pretzels.
- Melt 1 bag white candy melts in a mug or dish that will allow for easy pretzel dipping according to package directions. Do the same with the brown melts and chocolate bar, melting the darker chocolates together. Dip each pretzel rod into the chocolate, allowing the excess chocolate to drip back into dish. Set pretzel onto waxed paper and allow to harden while you finish remaining pretzels.
- Place desired color candy melts into bag and melt in microwave according to package directions. I do them all at once and pop back in microwave as it cools and hardens in the bag, if necessary.
- Drizzle melted candy melts over pretzel rods, allowing layers to harden between each one or immediately adding sprinkles if ready. Allow finished chocolate covered pretzel rods to harden completely before placing on serving tray. Keep covered with saran wrap until ready to serve.
Nutrition Information:
Yield: 8 Serving Size: 1Amount Per Serving: Calories: 82Total Fat: 3gSaturated Fat: 2gTrans Fat: 0gUnsaturated Fat: 1gCholesterol: 5mgSodium: 63mgCarbohydrates: 12gFiber: 0gSugar: 8gProtein: 3g
This data was provided and calculated by Nutritionix.
- Whole Oven Roasted Onions (+ 33 Ways to Use Them!) - January 6, 2026
- Easy Tater Tot Casserole - December 19, 2025
- Sausage Bean Soup (Stovetop or Instant Pot) - December 16, 2025


Mitzi says
Excellent article well explained not too wordy. You are very talented . Thank you from bottom of my heart for taking time to share your passion. Warmest Aloha from maui Hawaii
Jennifer Blake says
The best balance of salty to sweet. Pretzel Rods are one of my favorite pretzel snacks and the sweet treat of the chocolate decoration is the best. A little goes a long way.
Katie says
I love these! They are so fun to make with kids, and they make great gifts!
sue|theviewfromgreatisland says
You are a master sprinkler --- these are are adorable!
Kristy Bernardo says
Thanks, sue!
Laura says
SO GORGEOUS! You guys did an amazing job!
Kristy Bernardo says
Thanks so much, Laura! xo
Sara says
These pretzels are beautiful, they look so professional! Can't wait to try it with my kids although I'm sure ours won't be as nice looking 🙂
Kristy Bernardo says
Thanks so much, Sara! But if I know you at all, yours will be gorgeous and much improved! Happy Holidays 🙂