
Known for their light, crisp texture, panko bread crumbs are the best. But what do you do when you don't have a box in your pantry? Make some, of course!
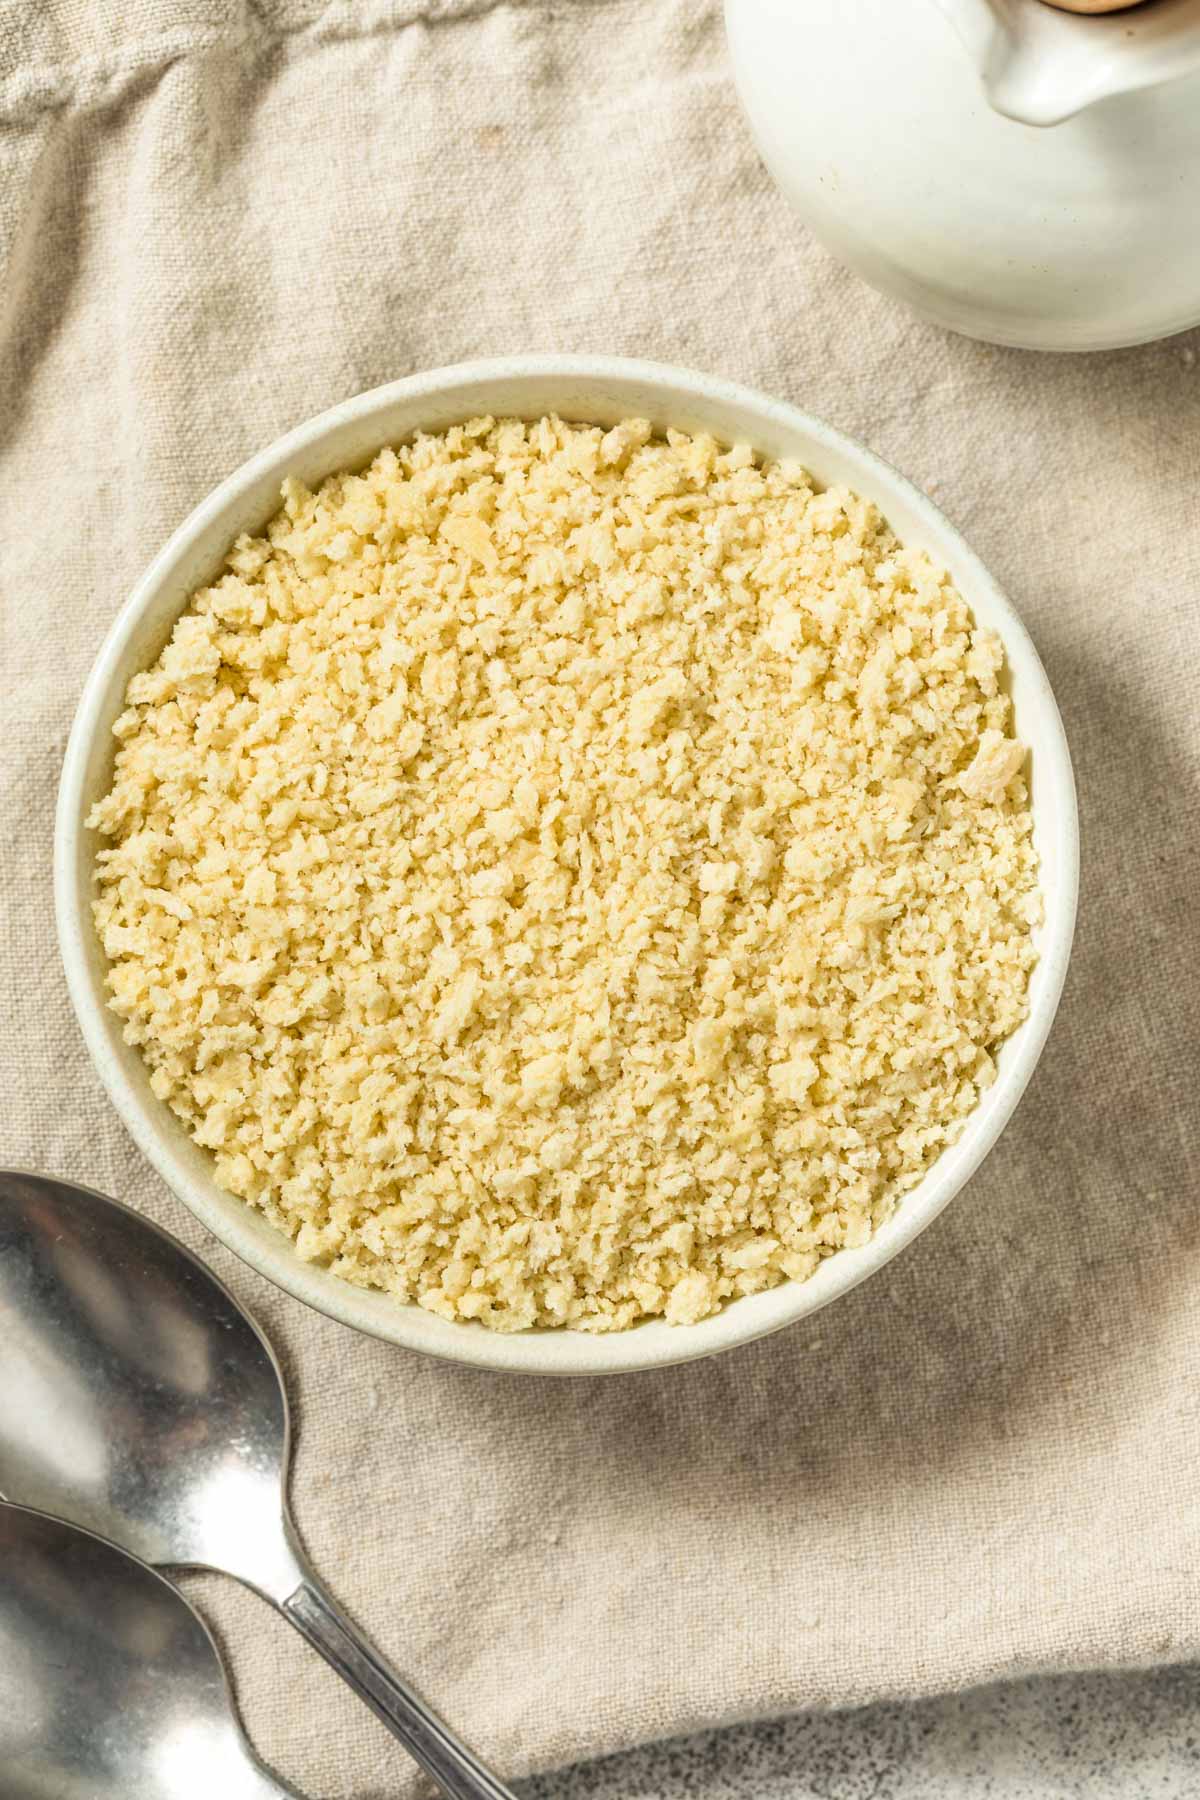
What is Panko?
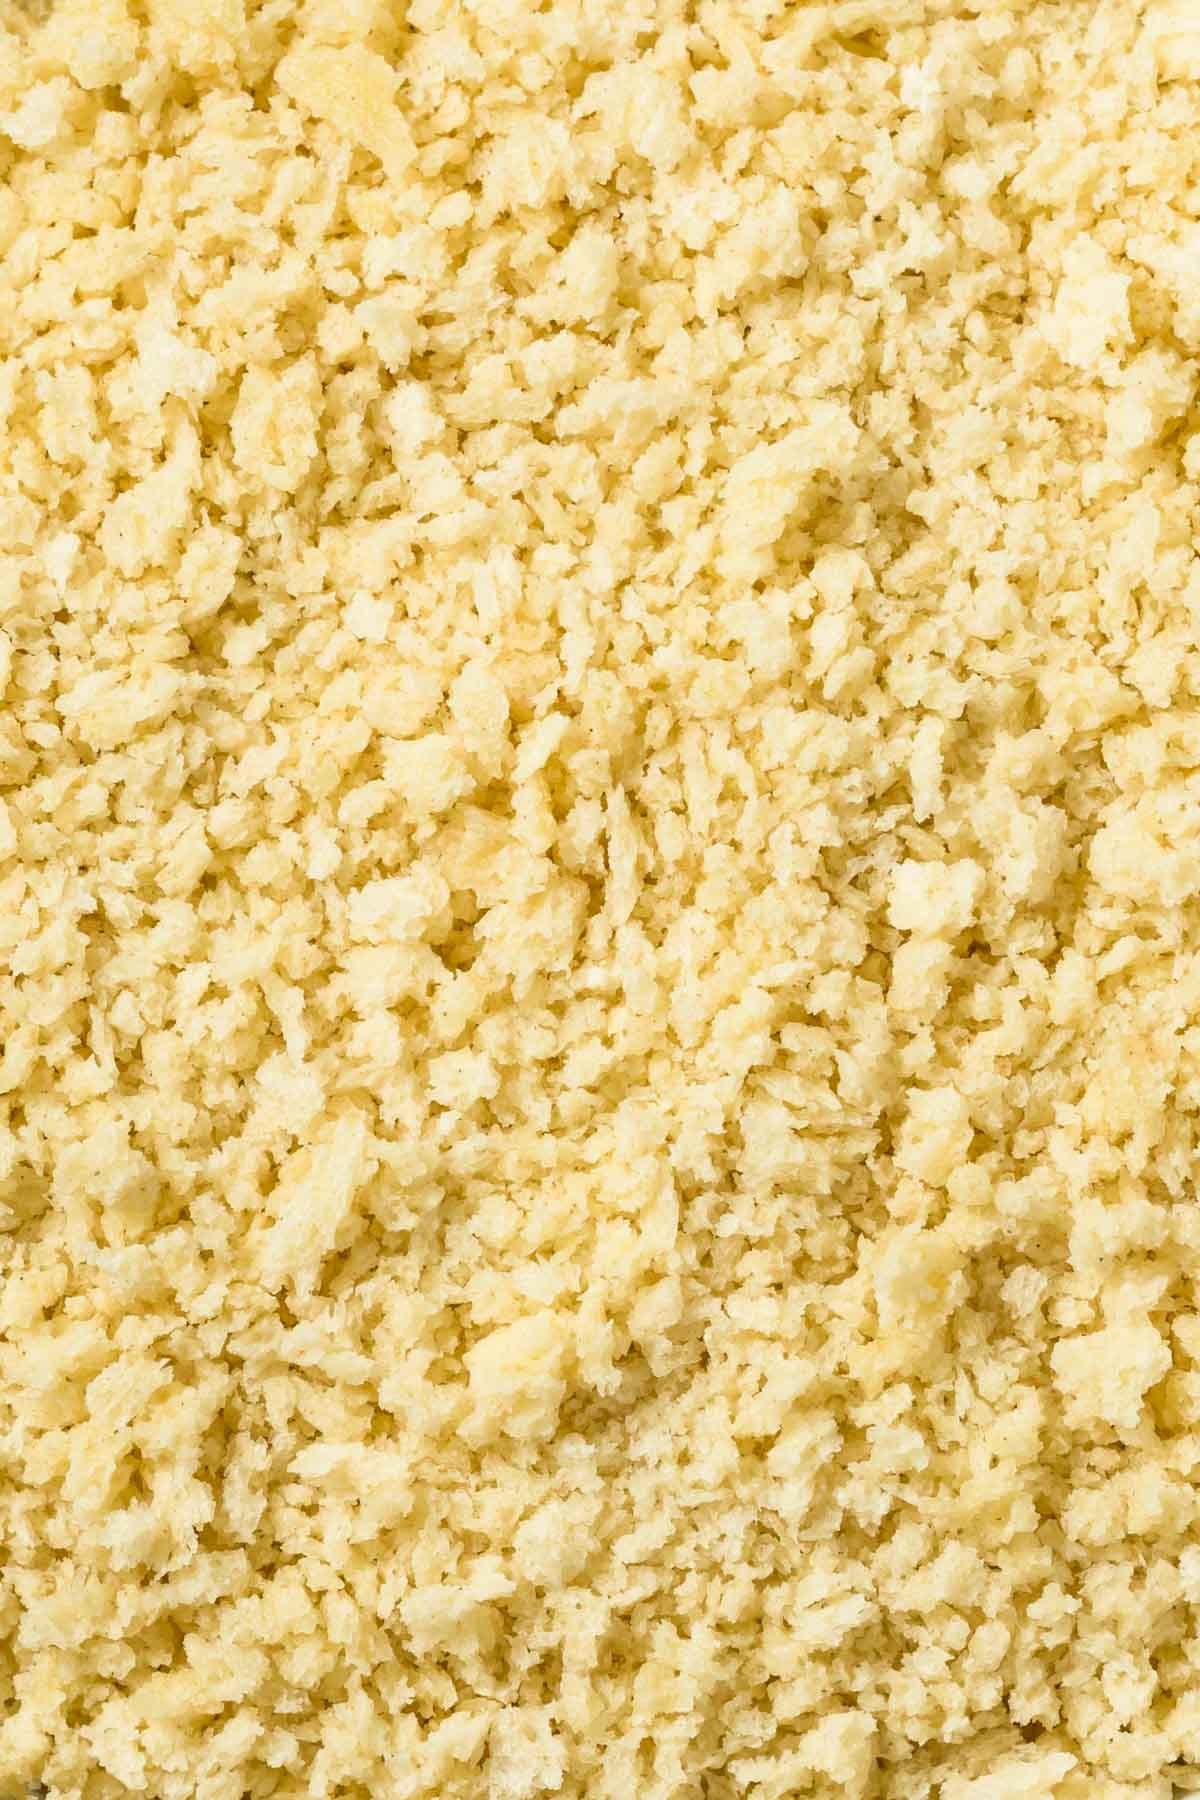
These unique Japanese-style bread crumbs, traditionally made from steamed, crustless bread (or bread cooked with an electric current), are processed into flakes and then dried, resulting in the flaky crumbs we know and love.
That's the secret to homemade panko: "flaking" the bread. We may not have access to crustless bread, but if we apply that preparation to a basic loaf of white bread, the results will be similar.
Panko vs. Regular Bread Crumbs
Panko is a type of breadcrumb, but it's made differently than the standard kind. Regular breadcrumbs are usually made from whole loaves of bread (crust included), which is then ground fine into "crumbs". Panko breadcrumbs don't use the crust, and it's torn or shredded into large, irregular flakes.
- Texture: Panko fries up light and very crispy; regular breadcrumbs give a more compact crust.
- Oil absorption: Because panko is flakier, it soaks up less oil during frying, so fried foods come out less greasy.
- Color: Panko stays pale even when fully cooked, but regular breadcrumbs brown faster and get much darker.
You can usually swap one for the other, but keep in mind that regular breadcrumbs will give you a softer, denser coating.
If you don't have either on hand, homemade panko gets you much closer to the real thing than store-bought regular breadcrumbs will.
Why You'll Love Panko Bread Crumbs
- Easy to prepare: Homemade panko bread crumbs involve grating day-old bread, dehydrating the flakes, and storing them for later use. It couldn't be simpler.
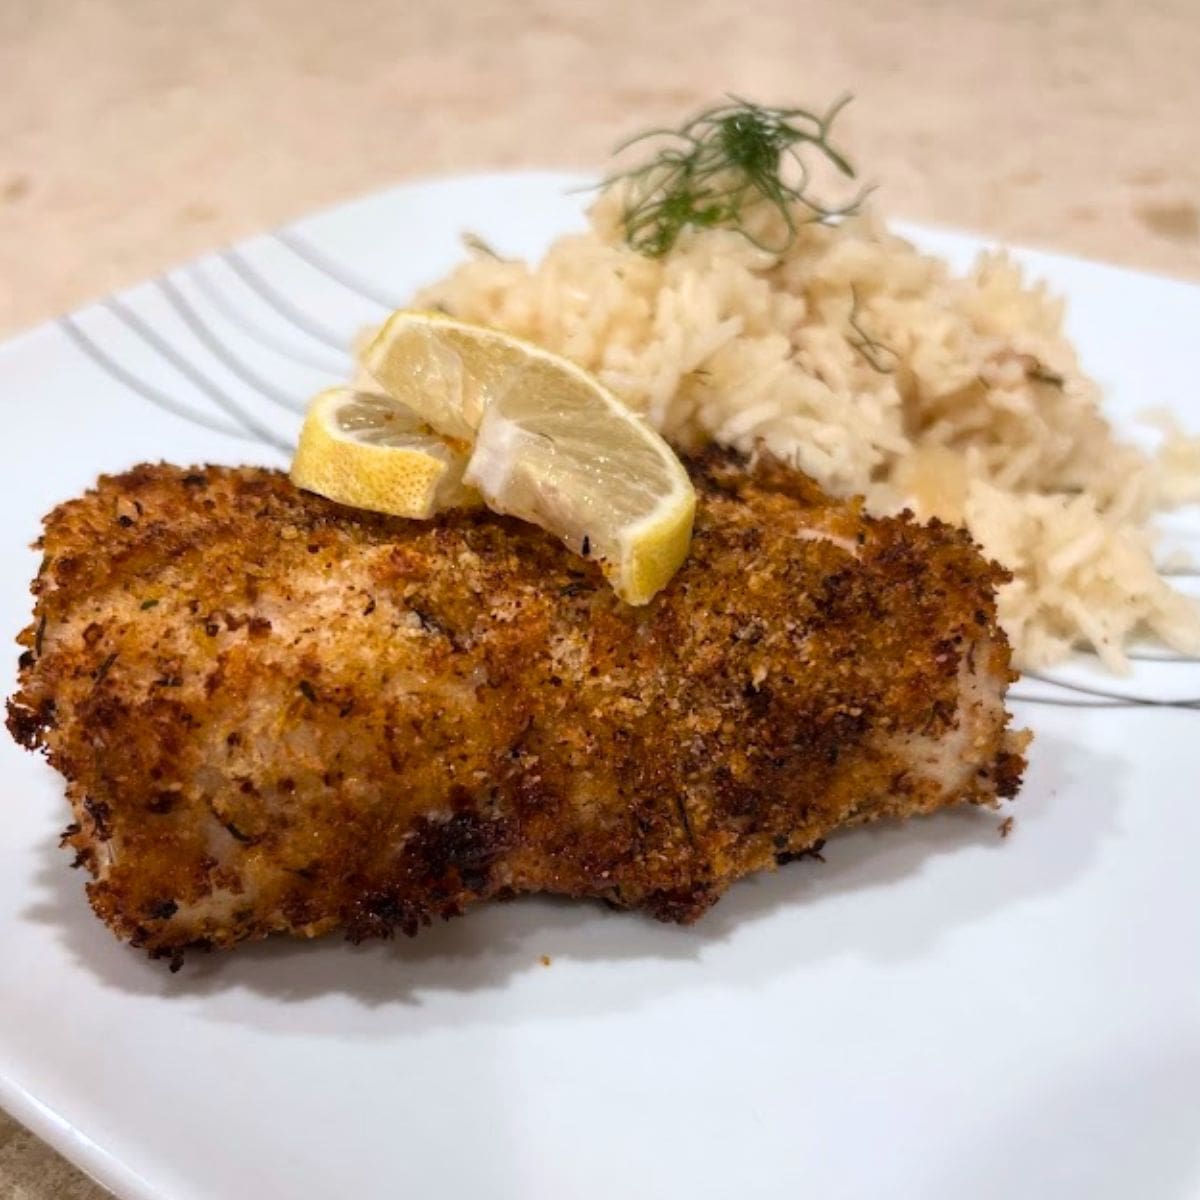
- Light, crisp breading: People love panko because it isn't dense. Instead of getting a packed layer of crumbs on the surface of the food you're coating, panko delivers not only a crispy but crackling coating that is light and airy. (This is what makes is a great breading for fish, like this cajun mahi mahi).
- Less oil absorption: The drier, flakier consistency of panko bread crumbs means they absorb less oil, which is great because no one likes overly oily fried food. When frying, heat the oil to the recommended 350 degrees Fahrenheit.
- Customizable: You can use any white bread you like (even gluten-free) and season the bread crumbs as desired. Consider this recipe a blank slate.
- Great way to use leftovers: Whether you have leftover bread from a loaf you baked from scratch or bought from the store, turning it into panko is an excellent way to put the bread to good use.
- Cost efficient: You'll get way more bang for your buck using an inexpensive loaf of bread and making DIY panko breadcrumbs.
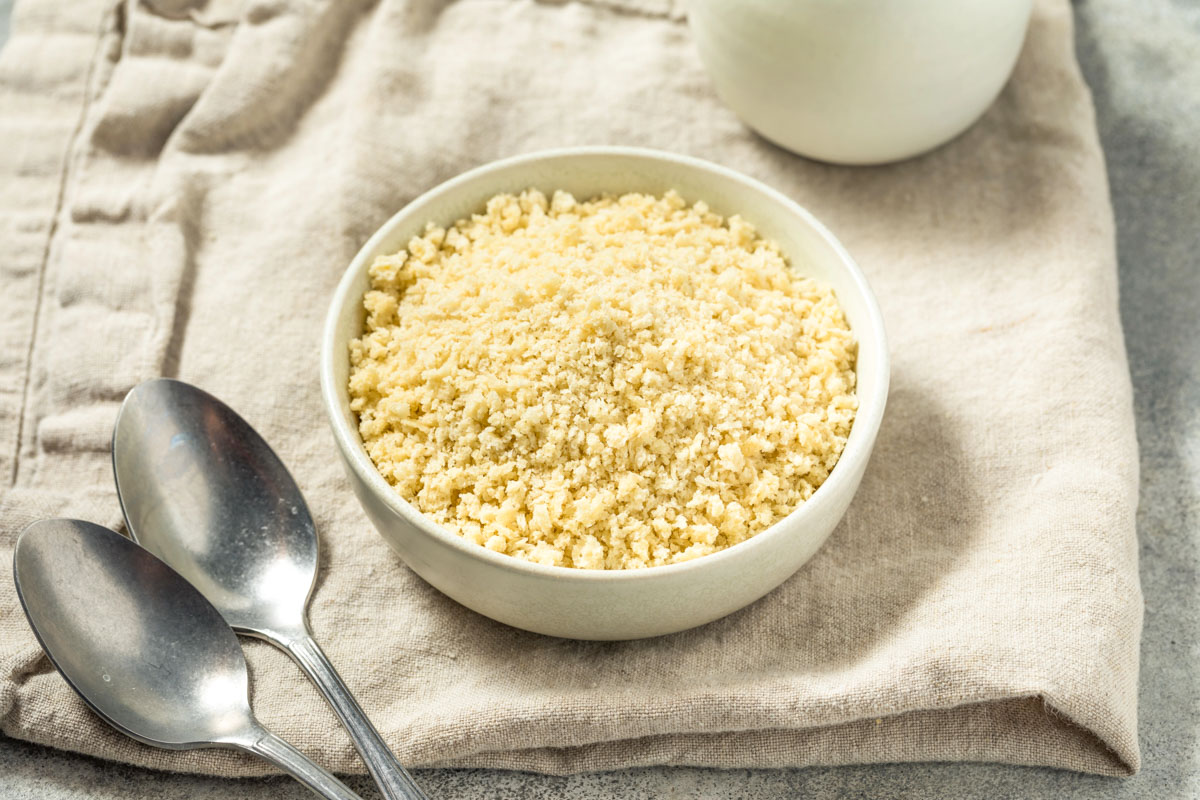
Ingredients
To make panko breadcrumbs, you'll need the following ingredients:
- White bread: Use day-old white bread (or a few days old). Fresh bread is nearly impossible to grate because it is far too soft and fluffy.
- Seasonings: Seasonings are optional. You may want to make Italian panko by adding dried herbs, salt, or spices. There are many options to choose from.
That's it for the ingredients list, but measurements are provided in the recipe card below.
How to Make Panko Bread Crumbs
- Remove the crust: Take the crust off the bread. To reduce waste, cut as close to the edge as possible, cut crusts into cubes, and toast with olive oil and seasonings to make croutons.
- Grate: How you grate depends on the bread you are working with. Unsliced loaves are easy to grate. Cut into large chunks and use the medium or large holes on a box grater. For pre-sliced loaves of bread, feed smaller pieces into a food processor fitted with a shredding attachment.
- Dry: Spread the breadcrumbs onto a parchment-lined baking sheet and place into a preheated 300-degree oven to dry out the bread flakes. You'll know they are ready when dry and crisp yet not browned. The parchment prevents sticking and acts as a buffer to prevent the bread from browning. Since browning isn't the goal, use a light baking sheet to reflect heat rather than a dark one that absorbs it.
- Cool: Transfer the panko breadcrumbs from the baking sheet to a plate or platter and fully cool before use or storage.
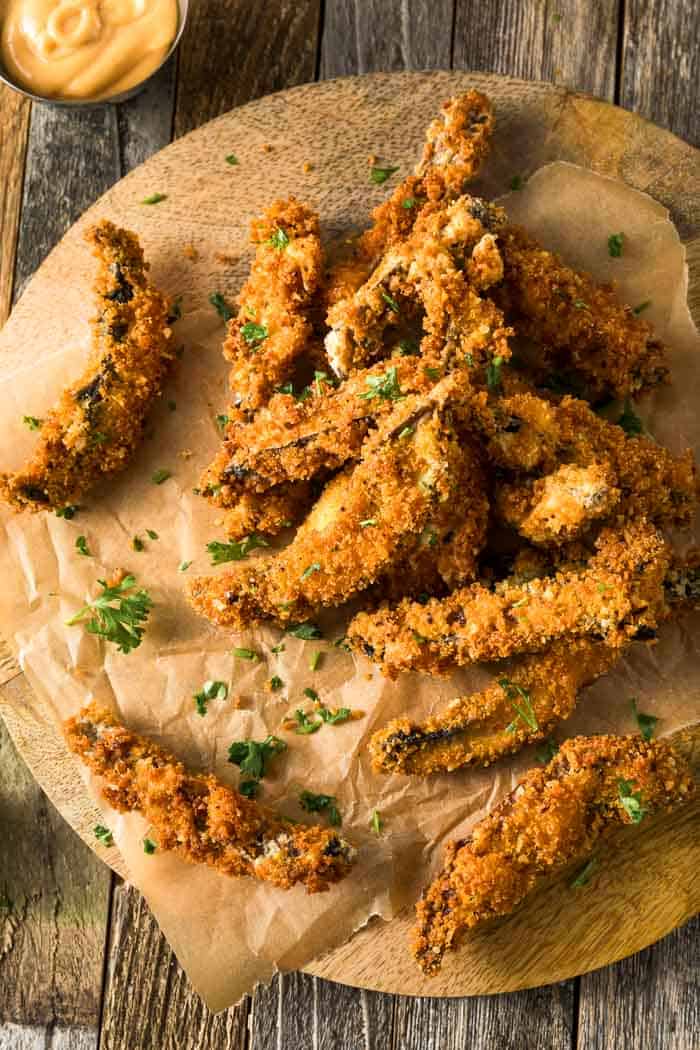
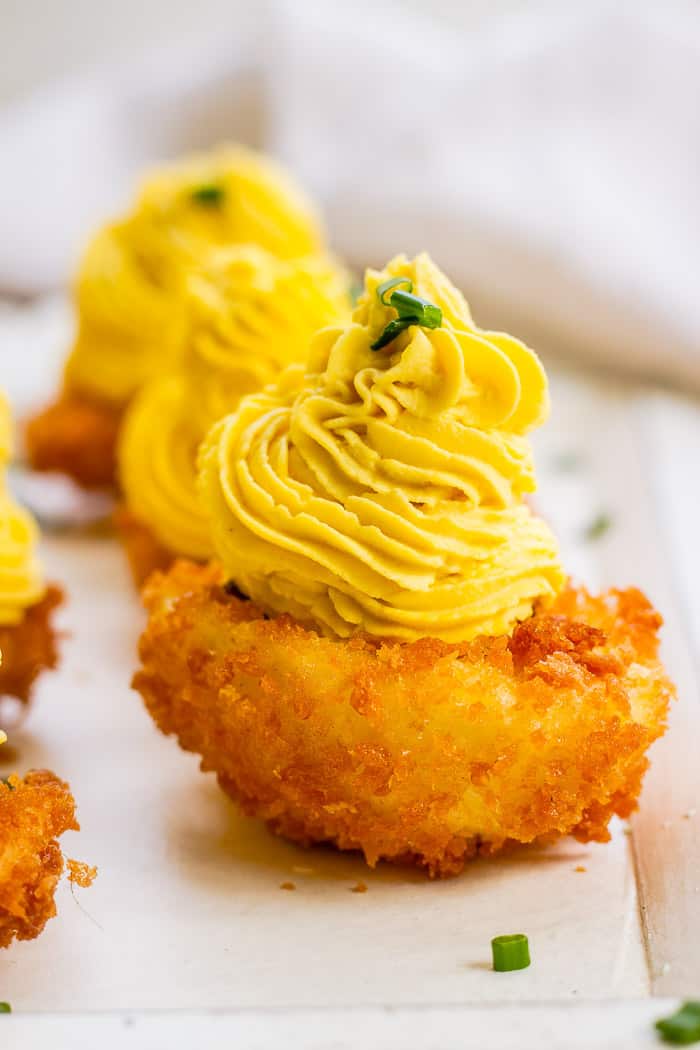
Recipes that use Panko Breadcrumbs

Variations, Substitutions, and Tips
- Go gluten-free: Use your favorite loaf of gluten-free white bread for gluten-free panko breadcrumbs.
- Freeze the bread: This helpful tip makes it easy to achieve clean-cut flakes no matter how soft the bread is. Pop it in the freezer until it firms up, grate it, and then into the oven it goes! The concept is similar to freezing butter before grating to make the fat easier to cut into flour.
- Experiment with flake sizes: The recipe suggests using the medium or large holes on a box grater for panko breadcrumbs that closely resemble store-bought. However, you can experiment. You may find that a specific flake size works best for a particular recipe.
- Lightly toast: If you plan to use your panko to coat foods that require a brief cooking time (like shrimp), getting a jump start on color development may be beneficial. Instead of leaving them in the oven until dry, allow them to get lightly golden. Just don't take the color too far. If you do, the breadcrumbs may taste bitter and burnt after frying.
- Add seasonings: We used our panko breadcrumbs to make cajun panko crusted mahi mahi. To 2 cups of breadcrumbs, we added 2 tablespoons of cajun seasoning, salt and pepper, 2 tablespoons of parmesan cheese, and garlic salt. Create your own combos to flavor your favorite proteins!
Storage Tips
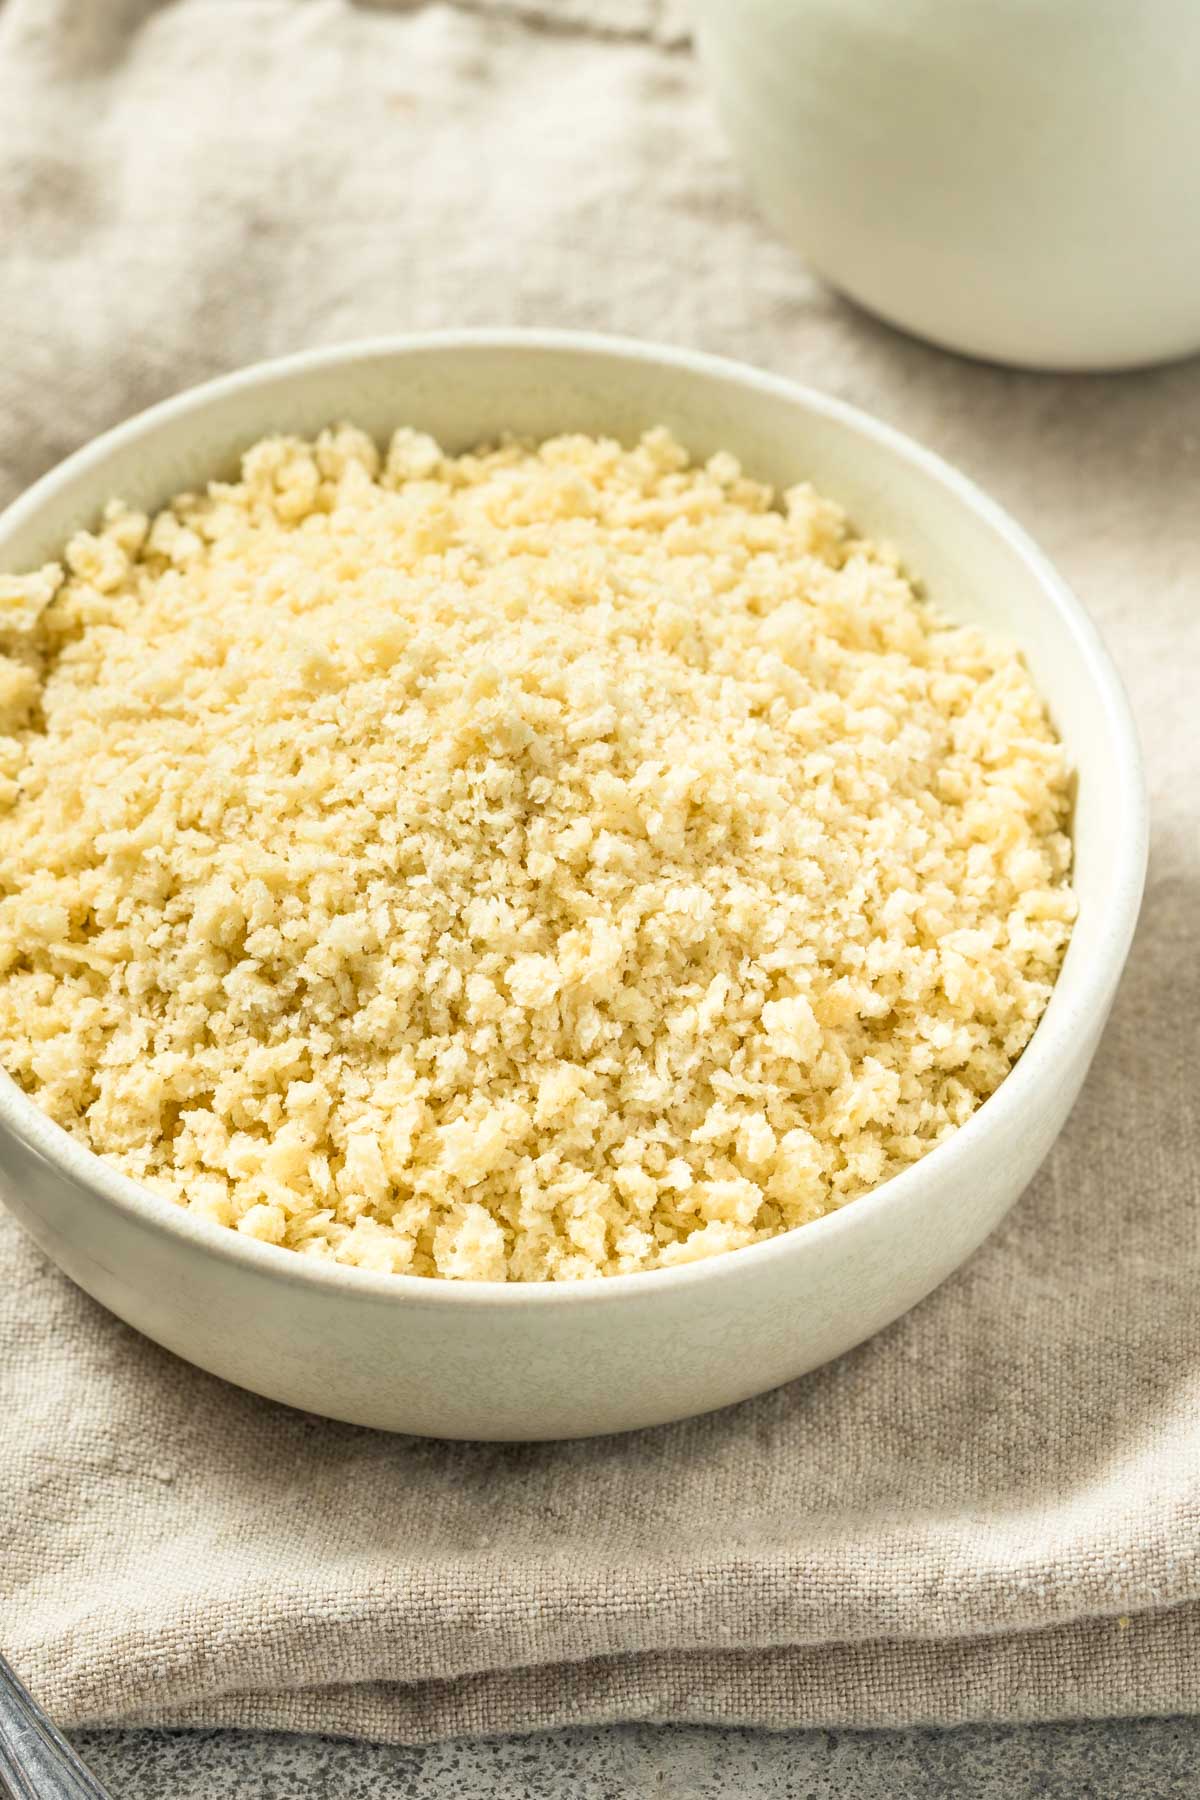
Once your panko breadcrumbs are completely cool, transfer them to an airtight container or resealable bag. Store them at room temperature (somewhere cool and dry, like your pantry). They'll stay fresh and crisp for up to 2 weeks.
Can you freeze homemade panko breadcrumbs?
As long as they're completely dried and cooled, they'll freeze really well. If there's any moisture that gets trapped in the bag, it'll turn your breadcrumbs soft as they thaw, so be sure there's absolutely no moisture left.
Store them in an airtight, freezer-safe bag with the air pressed out. They'll keep well in the freezer for up to 3 months. Let them come to room temperature before using, or add them directly to the top of a casserole, etc if you're baking them in the oven.
I don't recommend refrigerating them, as this can actually add moisture and softens the crumbs faster than just leaving them in the pantry.
Homemade Panko Bread Crumbs
It's very simple to make homemade panko bread crumbs. Follow our simple instructions to make them anytime!
Ingredients
- 12 ounces day old white bread
Instructions
- Preheat your oven to 300°F. (oven temperature is crucial, so it helps to have an oven thermometer since some ranges run hot).
- Grate the bread with a box grater, push the bread through the shredding plate of your food processor, or pulse a few times in a blender.
- Spread the grated bread onto a baking sheet lined with parchment paper in an even layer and place it into the oven for 6-8 minutes. The goal is to dry the bread, not toast it, so watch it closely to ensure it does not brown.
- Remove the panko breadcrumbs from the oven and transfer them to a platter or another baking sheet (this is to avoid the risk of residual heat toasting them).
- Thoroughly cool the panko breadcrumbs, then store them in a glass jar or another airtight container until ready to use.
Notes
Prep time may vary - if you are hand grating the bread it will take longer than if using a food processor.
Nutrition Information:
Yield: 16 Serving Size: 1Amount Per Serving: Calories: 55Total Fat: 1gSaturated Fat: 0gUnsaturated Fat: 1gSodium: 105mgCarbohydrates: 10gFiber: 1gSugar: 1gProtein: 2g
This data was provided and calculated by Nutritionix.

- Grilled Cheese Burritos - April 11, 2024
- Stewed Turkey Necks - April 11, 2024
- Fried Corn on the Cob Recipe - March 30, 2024
Leave a Reply