Hatch chile season is here, and we're celebrating with 50+ fabulous Hatch chile recipes that bring bold, smoky flavor to everything from dips and soups to burgers and brunch! Hatch chiles come straight from Hatch, New Mexico - and while they're available only for a short time each summer, they freeze beautifully so you can enjoy them year-round.
")
Table of Contents
The Full List of Hatch Chile Recipes
Whether you're using fresh hatch chiles or frozen, these recipes offer something for everyone.
Breakfast & Brunch
Yes, you can have Hatch chiles for breakfast — and once you do, you might never go back! These brunch-worthy recipes prove that Hatch chiles belong at the breakfast table.
")
Green Chile Breakfast Egg Casserole
The perfect make-ahead dish for a wholesome, protein-rich meal.
")
Hatch Chile Huevos Rancheros
You know you're a die-hard hatch chile lover when you have them for breakfast!
")
Loaded Veggie Frittata with Sweet Potato and Hatch Chiles
A healthy breakfast with hatch chiles is always a great start to the day.
")
Double the Hatch Chile Chilaquiles
What could be better than a little hatch pepper for breakfast?
")
Chorizo Green Chile Breakfast Skillet
Enjoy this Mexican breakfast skillet with good friends, family, and plenty of tequila. It’s essential to the recipe.
")
Low-Carb Hatch Chile Cheddar Egg Bites
Hatch Chile egg bites are a perfect grab-and-go breakfast.
Soups & Stews
Hatch chiles are right at home in your favorite soups and stews. Make a classic green chile stew, a smoky tortilla soup, or a hearty posole for your next delicious dinner!
")
Hatch Chile Soup with Fresh Summer Corn
This soup can easily be served without the shrimp or substitute shredded chicken if you prefer. The fresh summer corn is a must, however!
")
Spicy Chicken Lime Soup
This spicy chicken lime soup is packed full of chicken, chorizo, black beans, tomatoes and homemade roasted hatch green chiles.
")
Amazing Chicken Tortilla Soup Recipe with Hatch Chiles
This Chicken Tortilla Soup recipe has the most flavorful broth you will ever try! The trick is pureeing the tomatoes, onions, and garlic for maximum flavor. Try topping it with a little sour cream, too.
")
Hatch Green Chile Black Bean Soup
A delicious, healthy soup that comes together easily. Load up with your favorite toppings!
")
Hatch Green Chile Stew
An impressive stew that's perfect for a nice fall or winter meal.
")
Potato Leek Soup with Hatch Chiles
A creamy potato soup with a slight spice from hatch chiles.
")
Green Chile Chicken Stew
This bold and flavorful stew is ready to go in just 1 hour!
Dips & Sauces
From creamy queso and bold salsas to rich enchilada sauces, Hatch chiles bring smoky heat to every bite. These recipes are perfect for parties and game days!
")
One-Pan Hatch Chili Cheese Dip
Cheesy, meaty, zesty, and made with roasted Hatch chiles, cheddar and Monterrey Jack cheeses plus plenty of seasoning.
")
Queso Dip with Roasted Hatch Chiles
This fantastic yet easy queso dip is made with hatch chiles and a blend of cheeses.
")
Creamy Roasted Hatch Chile Dip
Cool and creamy, this Creamy Roasted Hatch Chile Dip is filled with the fresh flavors of lime juice and cilantro with a bit of heat from roasted hatch chiles. Just toss the ingredients into a blender, blend, and serve!
")
Hatch Chile Salsa Verde
Salsa is always better with some hatch chiles.
")
Hatch Green Chile Enchilada Sauce Recipe
Smoky, savory, and just the right amount of spicy – basically everything you want in a homemade enchilada sauce!
")
")
Hatch Green Chile Pimento Cheese
A unique way to enjoy your hatch chiles!
")
Roasted Hatch Chile Spicy Hummus
This spicy fire roasted hatch chile hummus makes a delicious appetizer or snack!
")
Sweet Corn and Hatch Chile Salsa
Just grab some chips and maybe those hatch chile margaritas, too!
")
Queso Fundido with Mushrooms and Hatch Green Chile
This molten cheese dip is topped with a mouthwatering mixture of sautéed shiitake mushrooms and green chiles.
Tacos, Burritos, and Enchiladas
Smoky and spicy, Hatch chiles take your favorite meals to the next level. Try cheesy enchiladas, loading a burrito, or topping tacos with roasted chile salsa, these hatch chile recipes are anything but ordinary.
")
Green Chile Beef Tacos with Black Beans
Green Chile Beef Tacos with black beans and corn are a one-pan meal perfect for a Game Day party or a weeknight dinner.
")
Hatch Chile Enchilada Casserole
Cozy, filling, flavorful, delicious and easy.
")
Smothered Green Chili Burritos
These Smothered Burritos are filled with shredded chicken, cheese and spices, baked until crispy, and then smothered in the best homemade green chile sauce.
")
Creamy Avocado + Hatch Chile Chicken Charred Corn Crepechiladas
Enchiladas made with crepes instead of tortillas. And hatch chiles!
Mains: Meats & Seafood
Your main course will be the star of the evening with these hearty, flavor-packed hatch chile recipes. From juicy burgers and smoky pork to seafood dishes with a spicy twist!
")
Grilled Hatch Chile Verde with Chicken
This grilled Hatch chile verde with chicken is simple to prep, quick to cook and oh so easy to enjoy!
")
Green Chile Chorizo and Chicken Mexican Casserole | Kyndra Holley
Enjoy this one for lunch or dinner, or top leftovers with an egg for breakfast!
")
Crock Pot Hatch Chile Pork
Your slow cooker does all the hard work for you in this pork green chili recipe.
")
Grilled Chilean Sea Bass with Hatch Chile Corn Salsa
This is the recipe you need when you're going for easy but upscale.
")
Brats with Hatch Chiles and Avocado Crema
A unique twist on bratwurst that includes hatch chiles? Count us in!
")
Roasted Hatch Chili & Jicama Salmon
Robust and spicy hatch chiles, roasted and paired with sweet jicama, make the perfect topping for rich and buttery salmon. It's also gluten-free and paleo.
")
One Pot Chili Con Queso Mac and Cheese
Chili con queso mac and cheese that requires just one pot and 30 minutes to make. This pasta is loaded with lots of flavor and the macaroni cooks right in the same pot as the rest of the ingredients.
")
Hatch Chile Smash Burgers
Amp up grilling season with this mildly spicy Hatch Chile Cheeseburger.
")
Tuna Panini with Grilled Onion and Hatch Chile
All the flavors of a tuna melt, with a delicious kick of spice.
")
Bacon Hatch Chile Burgers
These bacon hatch chile burgers made w/ ground beef and pork are extra juicy, topped w/ melted cheddar, crispy bacon, & hatch chiles.
")
Roasted Hatch Chile Seared Scallops
Roasted Hatch Chile Seared Scallops burst with delicious fresh, seasonal flavors. The subtle sweetness of the scallops perfectly balances the heat from the peppers. And it’s a gorgeous dish!
")
Southwestern Steak and Cheddar Panini
Stuck in the sandwich doldrums? Try this steak and cheddar panini – tender, juicy meat, sweet onions, smoky hatch chiles, creamy avocado slices, and buttery smooth cheddar.
")
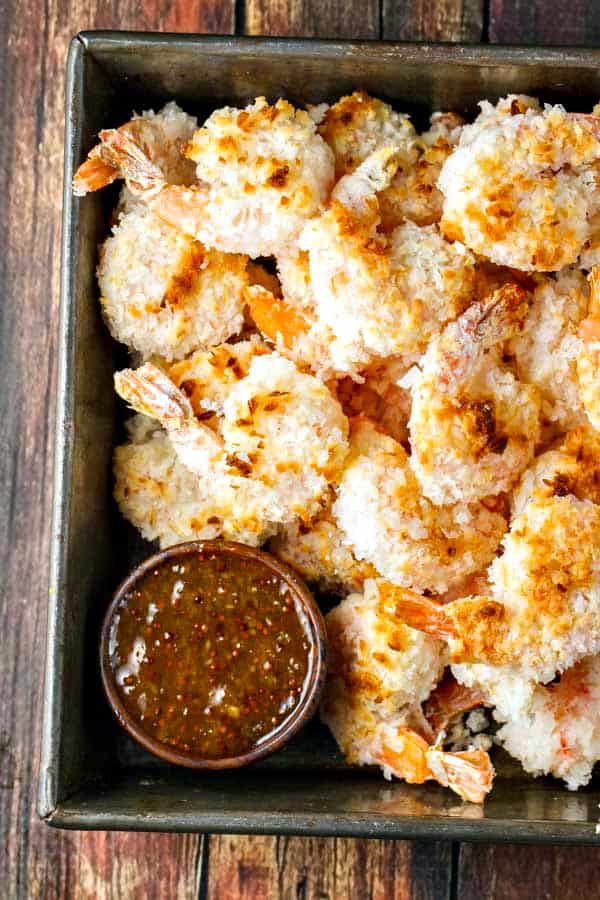
Hatch Green Chile Shrimp Recipe
Served with coconut rice, this shrimp is hearty, sweet and spicy, and over-the-top delicious!
")
Hatch Chile Cornbread Stuffing Casserole with Sausage
This Southwestern style cornbread stuffing with hatch chiles, sausage, corn and sage is sweet and savory, moist and delicious.
Vegetarian & Sides
You don’t need meat to enjoy the bold flavor of Hatch chiles! These vegetarian recipes and flavorful side dishes let the chiles shine - from corn fritters and casseroles to veggie-packed skillets and cheesy bakes. Perfect for meatless meals, potlucks, or adding a spicy twist to any spread.
")
Hatch Chile and Corn Fritters
A true match made in heaven – these Corn Fritters aka corn cakes, made with hatch chiles are crispy, sweet and a little spicy with a surprising ingredient – old bay seasoning! This corn fritter recipe is perfect as an appetizer or side dish and one you’ll be making all summer long!
")
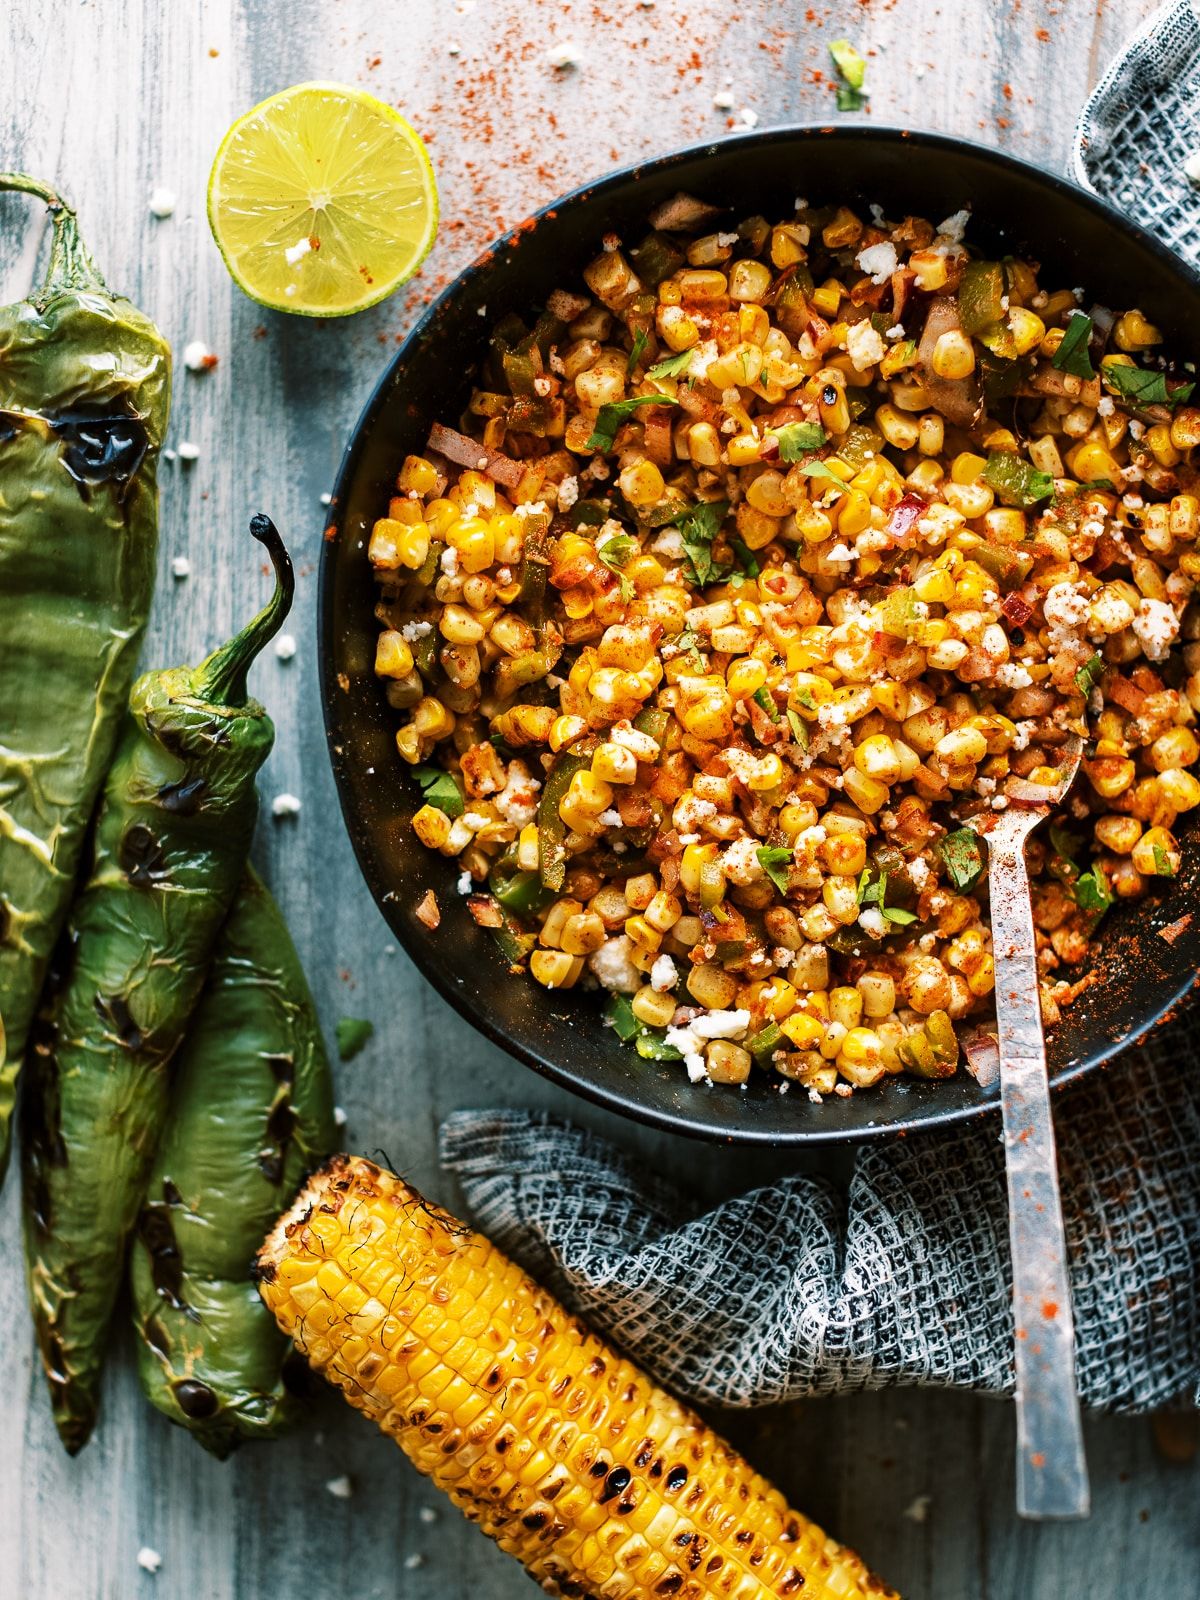
Hatch Chile Esquites
Esquites with Hatch Chiles, is spicy, zesty and so addicting!
")
Vegetarian Lasagna Roll Ups
A vegetarian lasagna made with hatch chiles for a deliciously different dinner.
")
Stuffed Hatch Chiles with Cilantro-Lime Yogurt
If you make any one of these chili pepper recipes, make it this one. Basically a chile relleno but better. They look sooo good!
")
Calabacitas with Hatch Chiles
Grilled Yellow Squash, Roasted Hatch New Mexico Chiles, White Corn, Onion, Oregano, Cumin
")
Hatch Chile Grilled Cheese
Who wouldn't want this easy, flavorful sandwich for a quick lunch? Another idea is to puree some hatch chiles and mix it with mayonnaise for an easy sandwich spread.
")
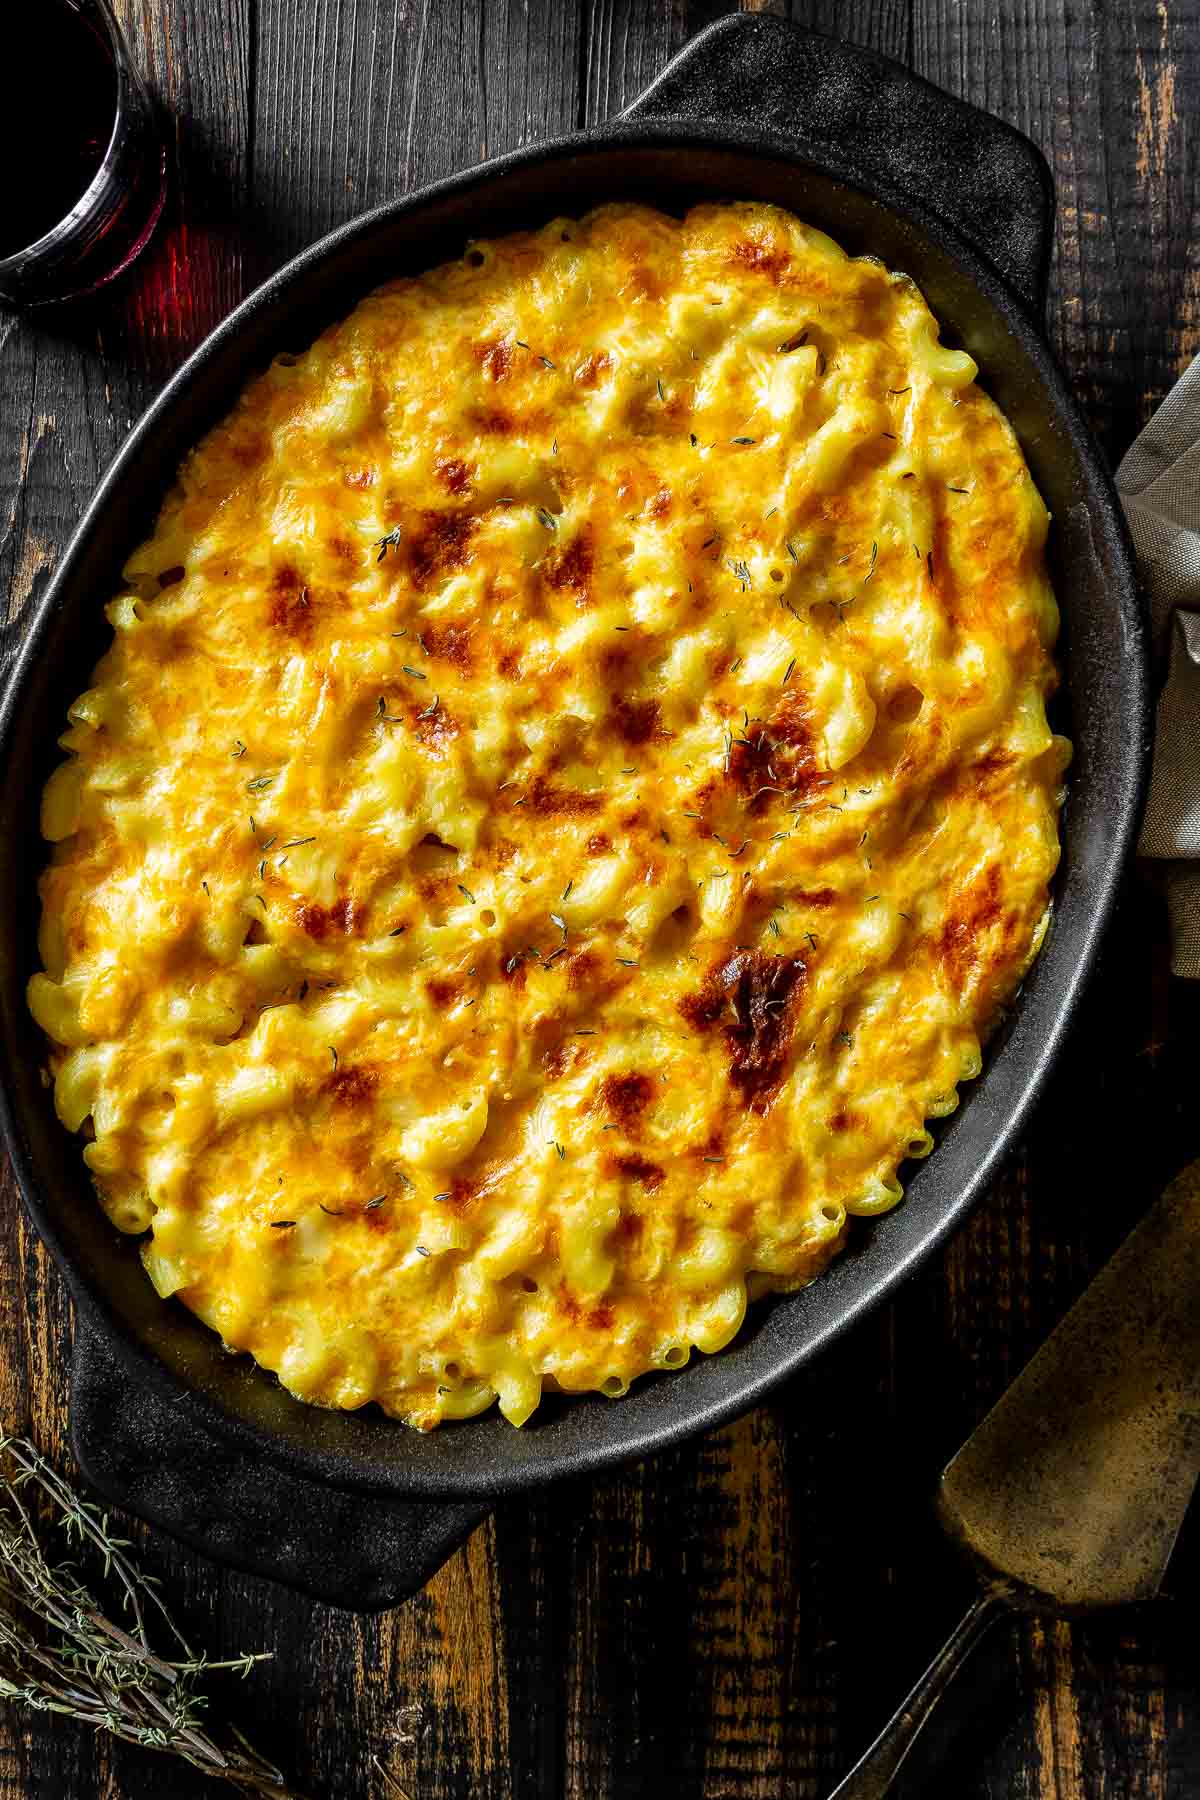
Green Chile Mac and Cheese
A creamy, cheesy, slightly spicy mac and cheese made with glorious hatch chiles!
")
Grilled Veggie Burrito Bowls with Hatch Green Chile Rice
Only 500 calories per serving and loaded with beautifully bright plant-based goodness, these Grilled Veggie Burrito Bowls with Hatch Green Chile Rice are bursting with flavor and make a great healthy meal.
")
Hatch Chile Cornbread Waffles
Top with chili and serve these for dinner, or just add some butter and enjoy on their own.
")
Hatch Chile, Veggie & Goat Cheese Jalousie
This extraordinary dish is a perfect main for vegetarians or for Meatless Mondays. For the carnivores, serve it with roasted chicken or fish.
")
Low-Carb Hatch Chile Rellenos Casserole
This low-carb Hatch Chile Rellenos Casserole has all the flavor of traditional without the carbs.
")
Corn Cakes with Roasted Hatch Chile
A light and spicy corn cake with roasted Hatch / New Mexico green chile.
Breads
These hatch chile recipes are perfect for soaking up sauce, pairing with chili, or stealing the show all on their own.
")
No-Knead Green Chile Cheddar Bread
Roasted green Hatch chiles and chunks of white cheddar cheese mixed baked into a no-knead no fuss bread dough then baked in a dutch oven.
")
Green Chile Cheese Cornbread
A moist cornbread with green chiles and cheddar cheese.
")
Hatch Green Chile Cheddar Biscuits
Smear with butter and add a little honey on top and these are heavenly. Perfectly flaky, and the hatch chiles gives you a slight hit of spicy and a hint of sweetness.
")
Hatch Chile Bread
This recipe makes excellent sandwich bread and would be wonderful as grilled cheese.
Cocktails & Snacks
Who says Hatch chiles are just for dinner? These spicy margaritas and sweet-and-smoky bites are perfect for happy hour!
")
Hatch Chile Margarita
A natural with chips, salsa and guacamole, this margarita has a subtle bit of spice that’s just right!
")
Roasted Hatch Chile-Grape-Chorizo Tapas
Celebrate Hatch Chile season with the perfect bite of sweet and smoky and fresh and rich flavors.
")
Hatch Chile Vodka
Smoky and a little spicy, this vodka is sure to kick up the flavor of your cocktails.
")
Hatch Chile and Raspberry Moscow Mule – A Vodka Cocktail
A Smoky pepper Hatch Chile and Raspberry twist on the classic Mule!
What Makes Hatch Chiles So Special?
Hatch chile peppers only come from Hatch, New Mexico which is located along the Rio Grande. Hatch Chiles aren't a type of chile but rather refers to the Hatch Valley region where they are grown. They're a general term for New Mexican peppers grown in the Hatch Valley.
Thanks to the area's unique climate, soil, and altitude, these chiles develop a one-of-a-kind flavor that's earthy, slightly smoky, and can range from mild to moderately spicy - perfect for any number of hatch chile recipes.
I don't just claim to love these fantastic chiles - I've been to Hatch, NM and have visited the fields where they're grown (see the image below, a field owned by Young Guns). To this day, it remains my absolute favorite assignment as a travel writer, so much so that it's on my short list of places I'd like to live!
")
Green hatch chile peppers are long and somewhat narrow, and average 6 to 8 inches in length. They're only available for a short season in the summer through fall (but are often frozen and can be ordered year-round).
Where I live in the Eastern US, some stores will begin advertising in early August. Our local Wegmans, for example, will carry both fresh and frozen but only for a few weeks before they're gone.
Green hatch chiles are edible when raw but are most commonly used for roasting or grilling. They're also used to blend into hummus, salsa, sauces and marinades and can be chopped and topped over almost anything. You can use them in any recipes calling for green chiles.
There are a few peppers look similar, like Anaheim or poblano, but only peppers grown in the Hatch region can truly be called Hatch chiles. The fresh ones are often roasted in big batches at grocery stores and festivals during peak season.
Thanks to their short season and intense regional pride, Hatch chiles have earned a cult following, and after one bite, it's easy to see why!
Red or Green Hatch Chiles?
In New Mexico, the difference between green and red chiles comes down to one thing: time. As Hatch chiles ripen on the plant, they change from green to red. Both come from the same plant - the green ones are picked early and usually roasted for use in salsas, soups, casseroles, and dips. If left to mature fully, the chiles turn red and are often dried and ground into chile powder or blended into flavorful sauces.
Frequently Asked Questions About Hatch Chiles
What are Hatch chiles, exactly?
Hatch chiles are a variety of New Mexico green chile grown exclusively in the Hatch Valley region of southern New Mexico. They're prized for their earthy, slightly sweet flavor and range of heat levels, from mild to hot, depending on the strain.
Are Hatch chiles the same as Anaheim peppers?
Not quite. While Hatch chiles and Anaheim peppers are related and look similar, Hatch chiles are grown in the unique climate and soil of New Mexico, which gives them a distinct flavor that Anaheim peppers can't fully replicate.
What's the difference between green and red Hatch chiles?
It's all about ripeness! Green Hatch chiles are harvested early, while red Hatch chiles are fully ripened and often dried or used to make chile powder. Both offer a spicy, unique flavor, but red chiles tend to be slightly sweeter and more intense.
When is Hatch chile season?
Hatch chile season typically runs from early August through late September. During this time, fresh chiles are harvested, roasted, and sold throughout the Southwest (and increasingly nationwide).
Can you freeze Hatch chiles?
Yes! Hatch chiles freeze beautifully. Just roast, peel, and deseed them, then freeze them in airtight bags or containers. They can be stored for up to a year and used in sauces, soups, dips, and more.
How do you roast Hatch chiles at home?
You can roast them on a grill, under a broiler, or over an open flame. Once the skins blister and blacken, transfer them to a bowl and cover them so they steam. After 10-15 minutes, peel off the skins, remove the seeds, and enjoy!
Can I eat Hatch chiles raw?
You can - but be ready for a little heat! Raw Hatch chiles have a somewhat grassy flavor and a crunchy texture. They're great diced into salsa or salads, but most people prefer them roasted, which mellows the spice and brings out their signature smoky sweetness.
How spicy are Hatch chiles, really?
It depends on the variety! Some are milder than a jalapeño, while others bring a medium kick. Think of them as the "choose-your-own-adventure" of the chile world - just spicy enough to keep things interesting, but rarely considered truly "hot". Having said that, I did get a batch once (out of many, many batches) that was really, really spicy! So just be cautious and taste them before you add them to your hatch chile recipes.


 with Lemon-Tahini Sauce")
 with Lemon-Tahini Sauce")
 with Lemon-Tahini Sauce")
 with Lemon-Tahini Sauce")
 with Lemon-Tahini Sauce")


")
")
")
")
")
")


")
")
")
")
")
")


")
")
")
")
")


")
")
")
")
")


")
")
")
")
")
")


")
")
")
")
")
")


")


")


")